Shopping cart
$0.00
Are you looking to expand the selection of quilt top designs in your repertoire? Have you ever tried to freehand quilt a basic spiral? This design looks great on large and small scale projects, and can be quilted on any type of machine. Follow along as we review Leah Day’s tutorial on how to begin quilting simple spiral shapes in rows and how to expand the design to cover your quilts in a beautiful, swirled texture.
A basic spiral is a simple filler design that’s really easy to stitch. You can use the basic spiral to fill narrow spaces when sashing, fill space around design motifs, or cover your entire quilt top. You can stitch this uncomplicated design by guiding your machine’s handlebars. This is a technique also known as free motion quilting.
Quilting machine
Frame
Practice quilt sandwich
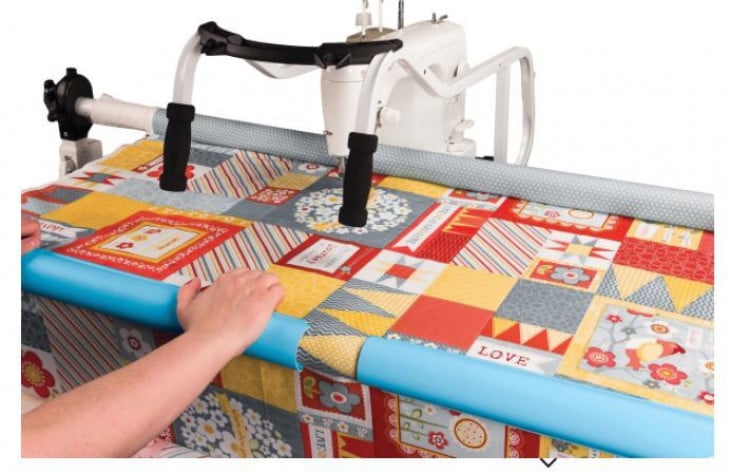
In this tutorial, Leah is using the Q’nique 21 & Continuum frame.
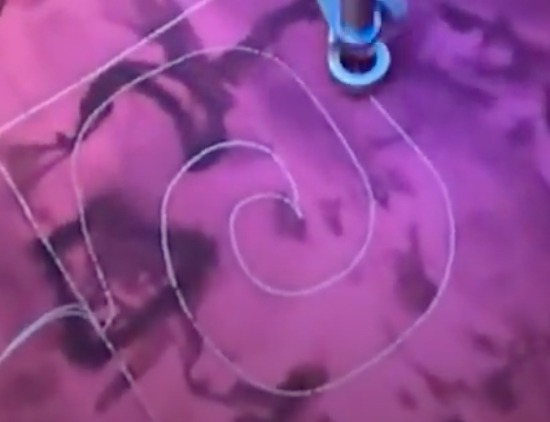
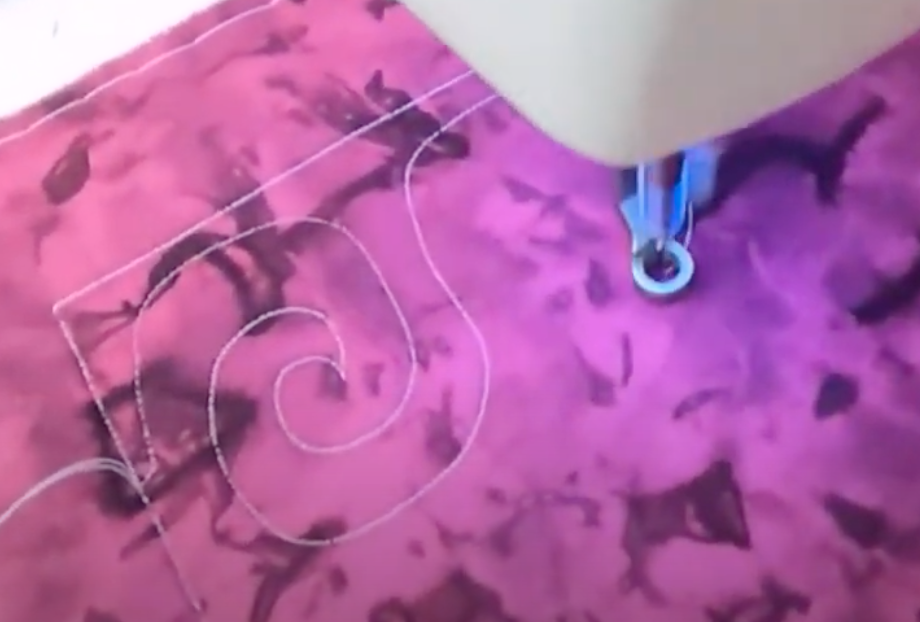
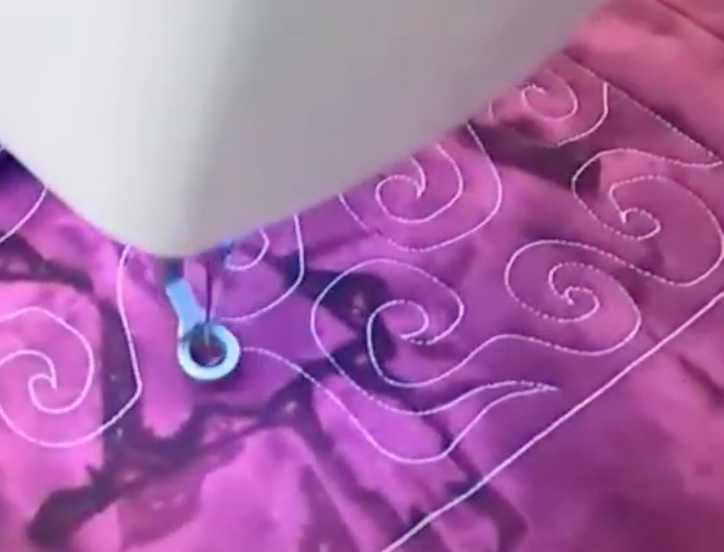
Start your design by outlining the basic shape of your spiral flowing inward and trace it back outward once you reach the center of your spiral. As Leah Day says, “Spiral in, spiral out!” When you complete your first spiral, flow into the next shape in your row. Try to make them the same size, but if they differ slightly, that’s okay! Free motion quilting is known for its organic shapes and flow, so don’t overthink it if you have to make a more narrow or squished spiral near the end of your row.
Quick Tip: When learning a new design, break it down into its simplest pieces to allow yourself to understand the dynamic motion of the design. Eventually, you’ll have it down to muscle memory and be able to recreate this design in your sleep!
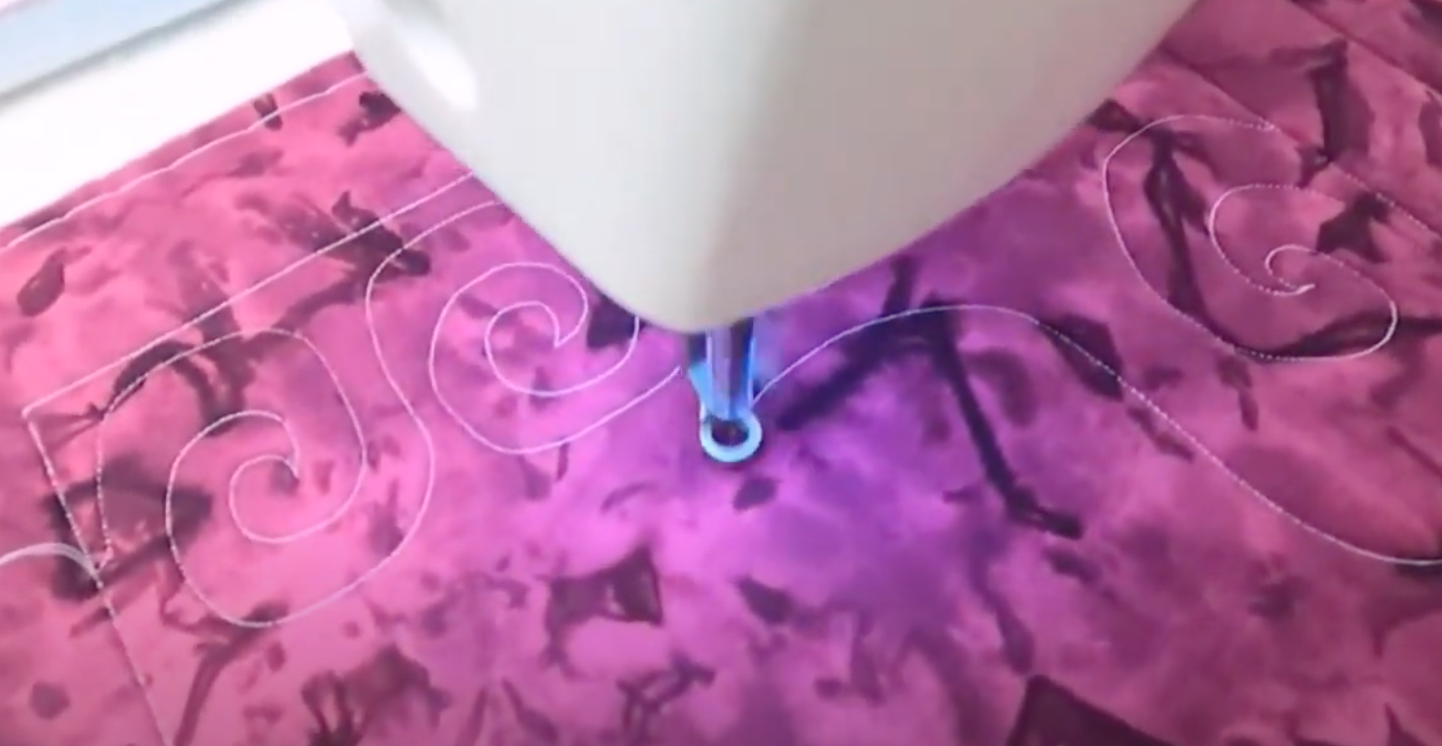
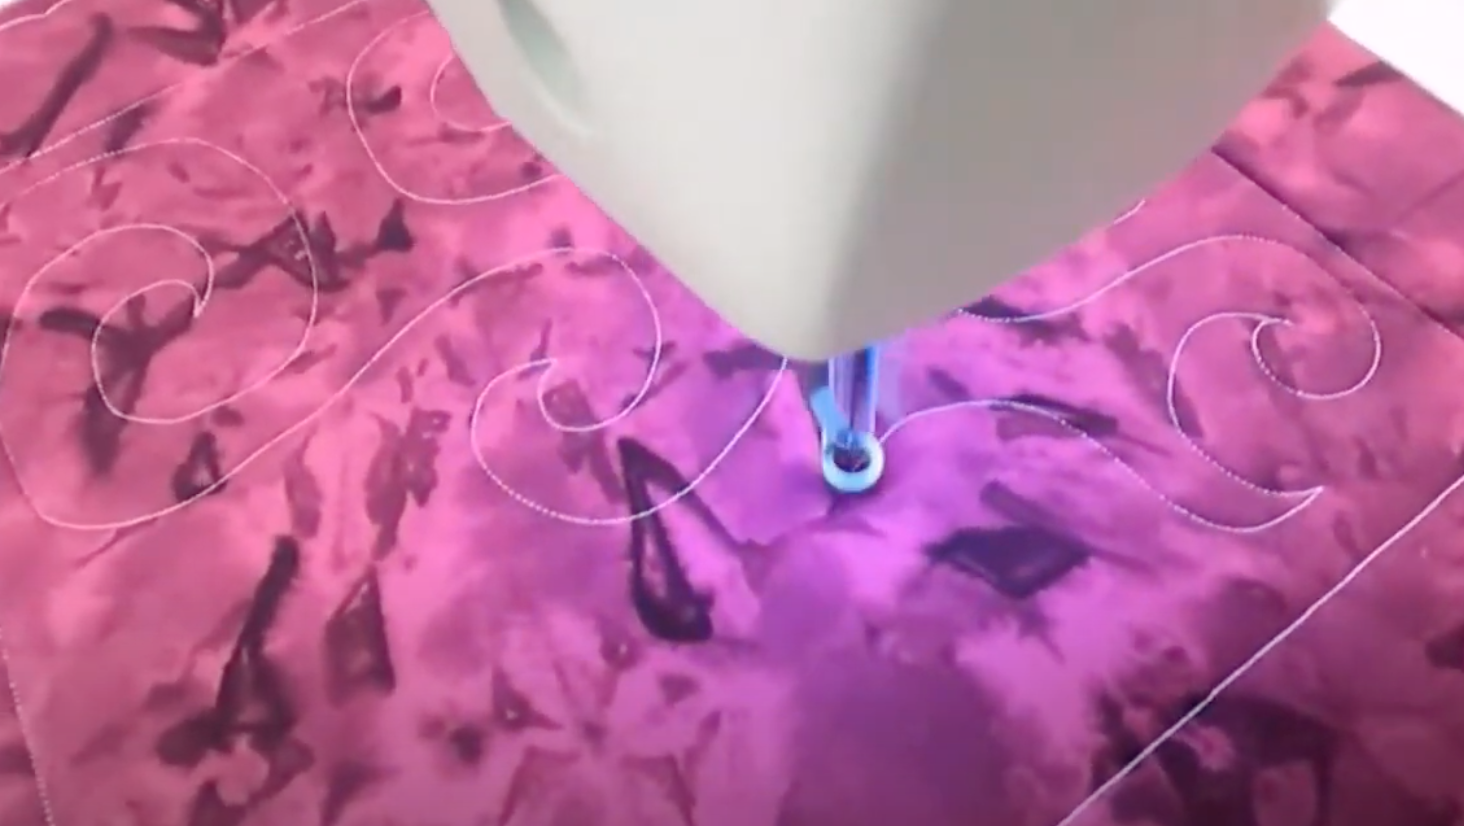
After your first row of spirals have been created, use a travel stitch down the border to begin your second row of spirals. At this point, it is important to consider scale. In the first row, Leah left about a half inch between her designs. In the second row, Leah opted to use a larger scale, meaning that in the first row, she has six spiral shapes and in the second row, she has three spiral shapes.
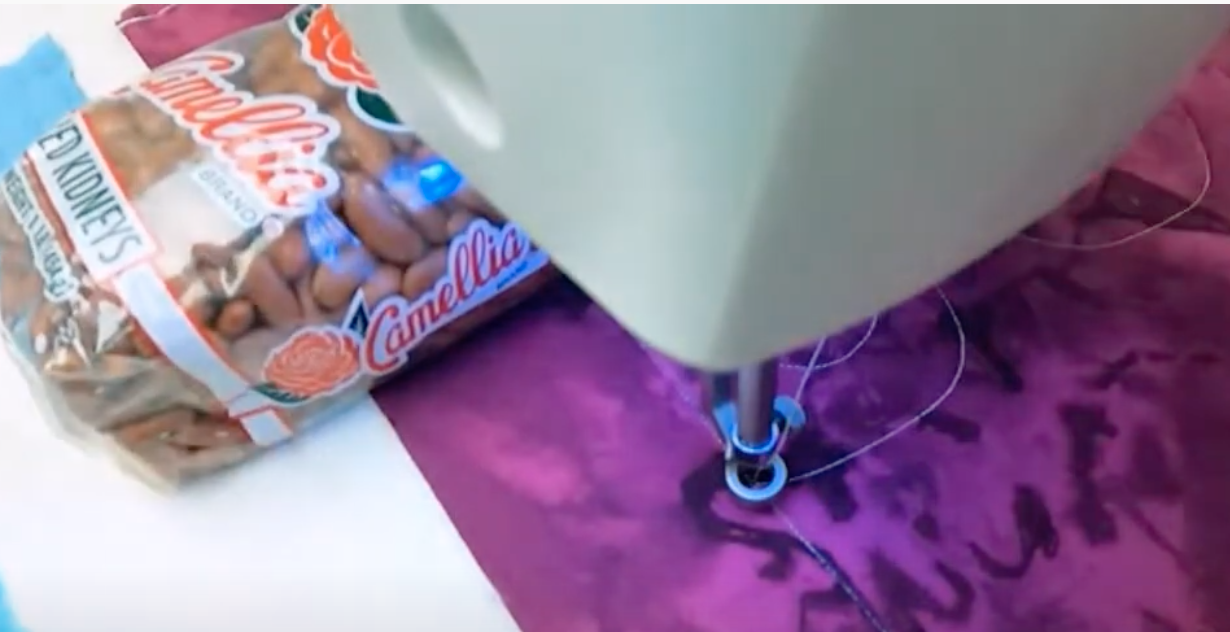
If you’re experiencing wobbles in your quilted lines, it can be helpful to use a small weight (in this case, Leah used a bag of kidney beans) to stabilize the section in which you are working as pictured below. A one-pound weight works equally well. Feel free to use whatever you have handy at home.
In her third row of spirals, Leah chose to bring the scale down much smaller shapes stitched in quarter-inch scale. Keep in mind that smaller scale designs will make your quilt more stiff and larger scale designs will leave the fabric softer and more suitable to be a bed quilt. To accomplish this smaller scale spiral, be sure to move slower and more controlled with your stitching. The more you create these spiral rows, the more comfortable you will become with the dynamics of the design which in effect creates a fluid and well-executed design. The age-old idiom “practice makes perfect” is quite applicable to learning to quilt new designs!
Quick Tip: if you’re looking to hide imperfections in your designs, choose a low contrast thread. If you’re looking to practice improving your skill, choose a high contrast thread so that you can pick out where you have weak points in creating the design.
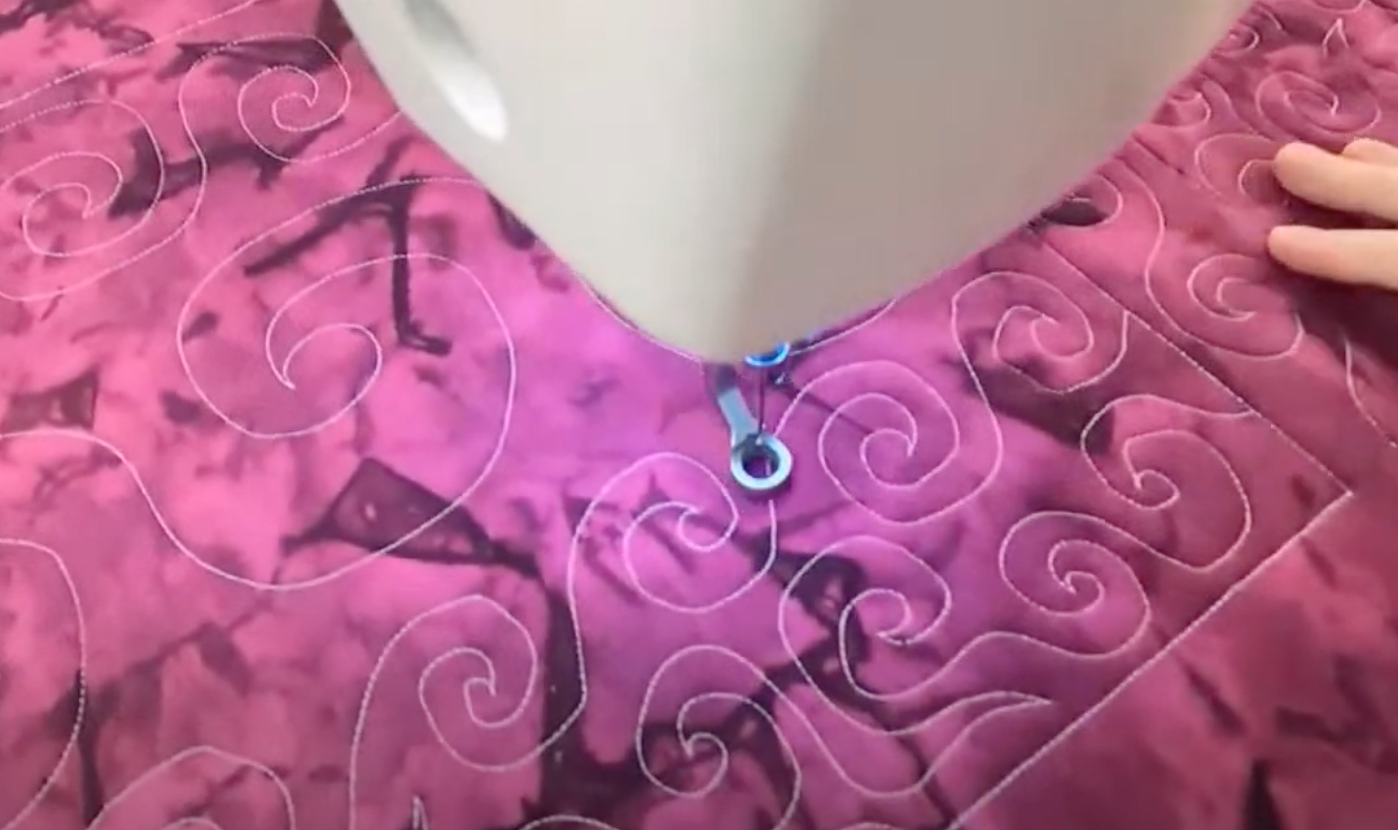
In Leah’s final row of the example quilt block, she changed the direction of her spirals because in any filler design, you’re looking to make it random and organic in composition. To create a more random pattern in this spiral design, you might change direction, angle, or create half shapes to produce an unconfined design.
The next square in Leah’s practice Spiral design quilt combined the skills we learned in the first square. She stitched the spirals at random and used a marking pencil when she got to a tricky spot or was confused by the flow of the design she had begun in a different direction. When using a marking pencil, you don’t have to follow your marks exactly, they provide a guideline or idea of where you would like to stitch next. According to Leah, the rule with scale is that you want your line spacing to be consistent, not perfect.
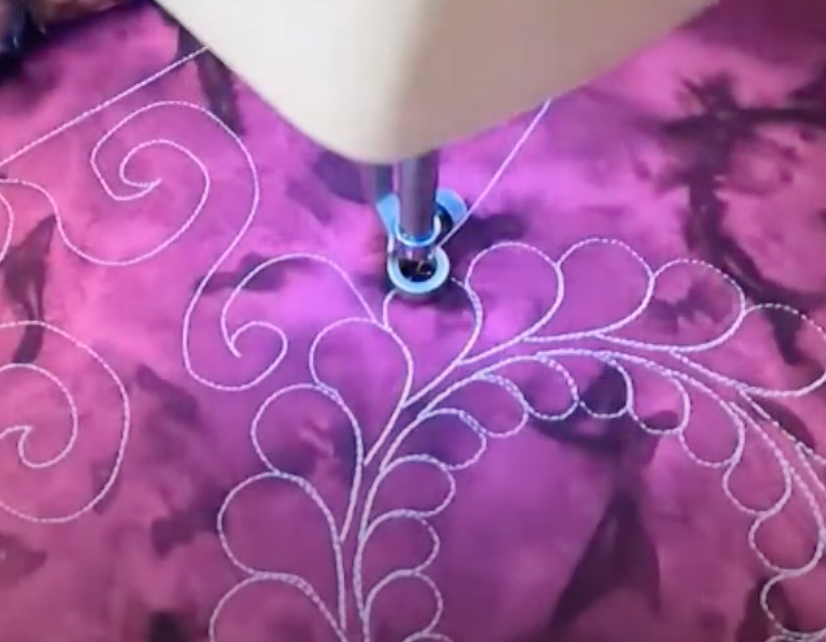
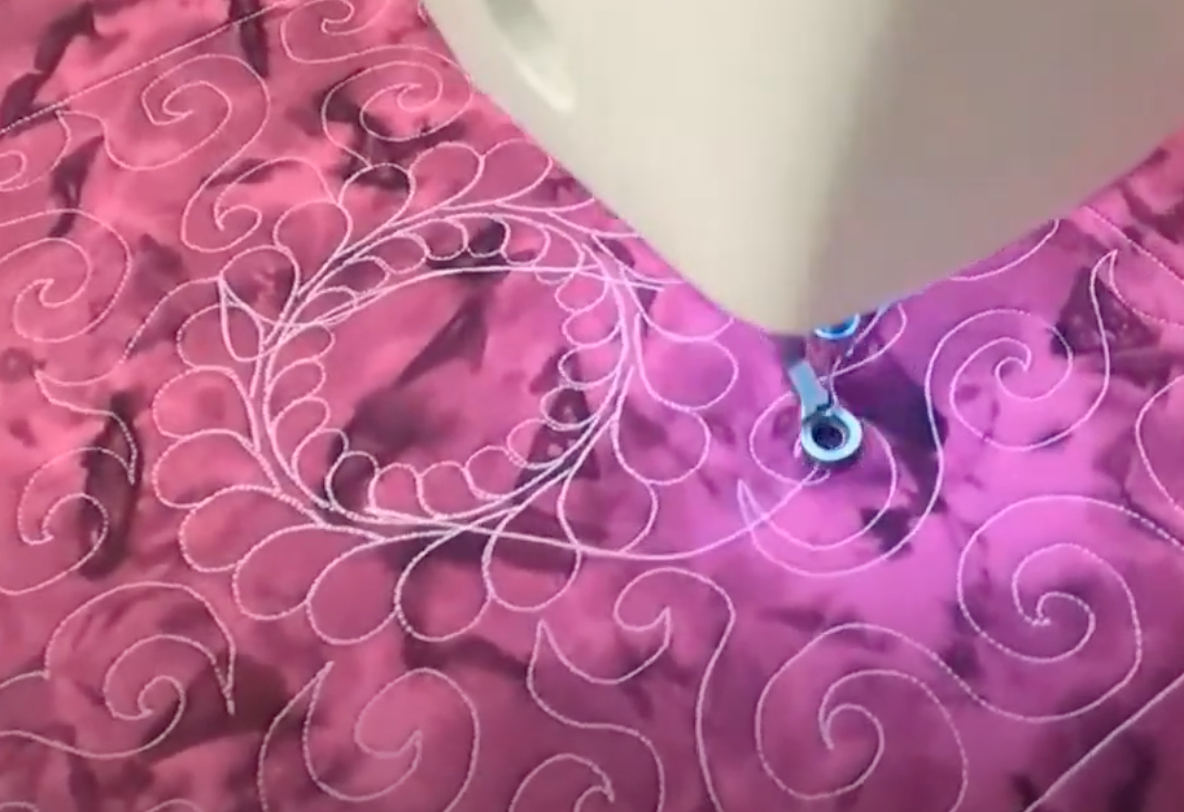
In the third quilt square that Leah demonstrated, she showed us how to use the spiral design in addition to a feather wreath design that was stitched with our computerized software Quilter’s Creative Touch. When stitching around an anchor design like the feather wreath, it’s beneficial to consider working with a smaller scale spiral design. This will keep your designs easier to control and reduce the risk of overlapping your designs. Leah used a random pattern of spirals in this quilting square instead of a row of spirals. By using a random pattern, she was able to make the design flow around her wreath motif with ease.
Quick Tip: If you accidentally quilt a spiral up against the anchor design in the center, use a travel stitch to guide your needle over the shape of the anchor design and pick up stitching your spiral free motion design at a better angle. These moments are also a great stopping point to pull out your marking pencil and plan out your design. Take your time and don’t rush through your free motion design process.
When using a filler design like this spiral pattern around an anchor design, it helps to work around it systematically. Leah worked clockwise around the feather wreath using the random spiral instead of the spiral rows to create this perfectly filled quilt square that is still symmetrical and pleasing to the eye because the scale is all similar.
Filling a sashing area with a spiral chain is the last piece of this free motion pattern tutorial. When the spiral pattern is used in sashing, it elevates the design from filler to motif which ties the rest of the quilt design together. Leah used this design in a two-inch space to demonstrate. The spacing of your sashing is a matter of personal preference, and Leah generally leaves larger spaces for sashing when she creates quilts so that there is more room to be creative with her designs. The scale of your spirals will have to remain fairly compact to keep the design legible in the small space. In instances when you are filling in a more precise design like a spiral row, we recommend using your marking pencil to plan out the first two or three iterations of the design.
Quick Tip: Using a ruler foot is helpful if you want to keep your margins outside the design crisp because it is exactly a quarter inch from the edge of the foot to the needle.
We hope it’s been helpful to follow along as Leah showed three different ways to free motion quilt this spiral design. Free motion quilting is a skill to be built by practice and experimentation. If you struggle with stitching these types of flowing designs, remember to use your marking pencil. It’s not cheating. It is a tool for careful planning as you learn to find the flow, fit, and feel of your free motion design. As Leah says, “The more you move those handles, the better you’re going to be at free motion quilting.”
Happy quilting!
The Grace Family
For over 25 years the Grace Company has been the leading manufacturer of high quality quilting frames and quilting accessories. What truly sets The Grace Company apart from other competitors is its level of quality, value, and experience toward all their endeavours. From products to external and internal customer experience, the Grace Company responds to market and customer needs and continues to lead the quilting industry. Grace Company frames and hoops are designed to be easy to build and compatible with most major quilting machines. They'll have the quilting product you need.