Shopping cart
$0.00
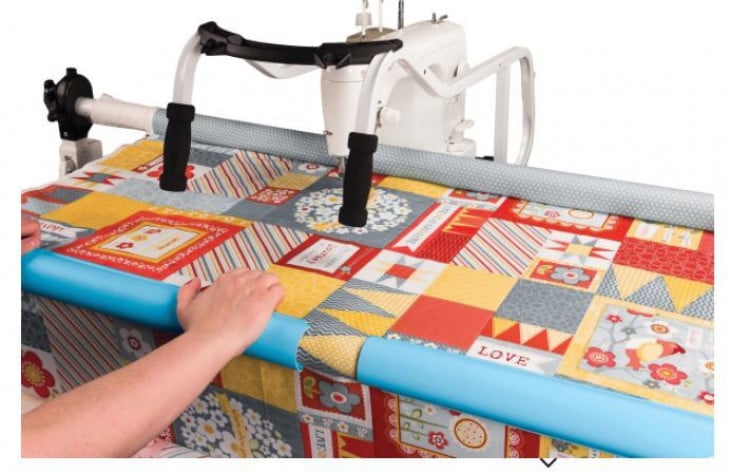
Today’s tutorial comes from a workshop featured in our Quilter’s Summer Camp event! Follow along with Grace Company educators Kourtney and Maddie to create a piecework butterfly jacket. This jacket is a great project to try if you have a pile of scrap fabric lying around your quilting room.
Fabric Scraps
Pattern PDF(download here)
Iron
Domestic or Quilting Machine
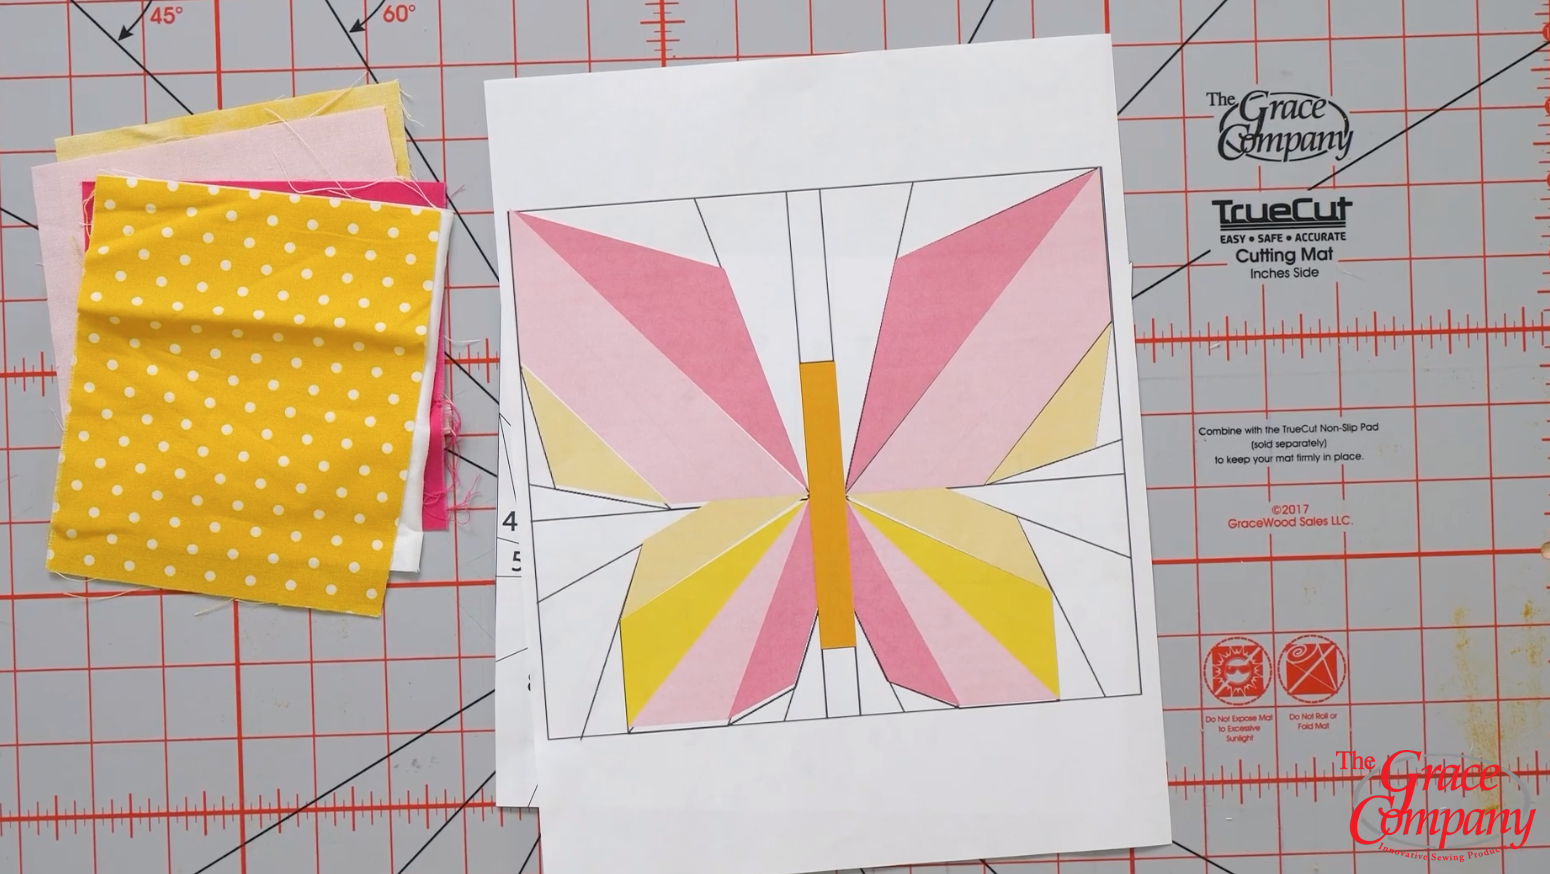
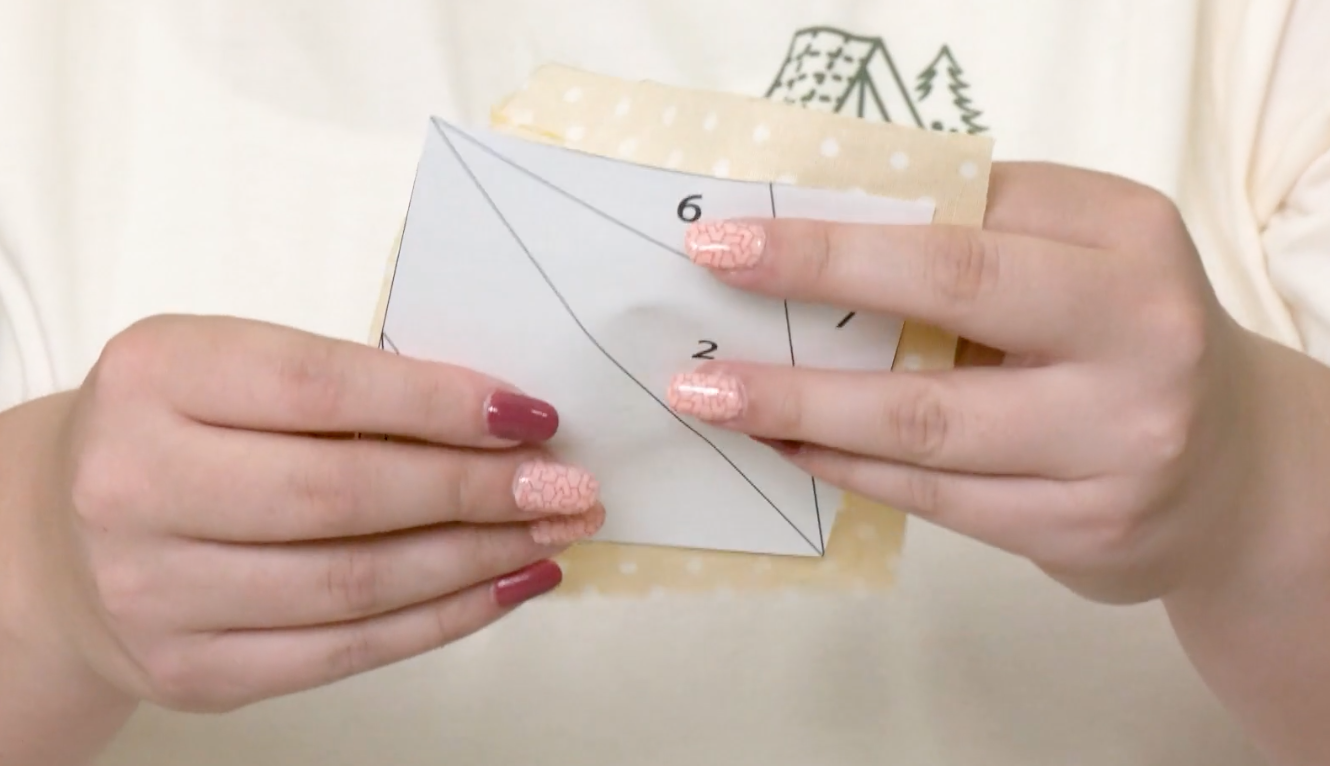
Quilter Tip: Color in the pattern before you begin quilting to map which fabric color will go where as shown in the image below.
Once you’ve selected and mapped your fabric colors, cut out the five pieces of your template.
1. Cut out the three middle dividing pieces as a strip. Keep white pieces above and below the yellow abdomen attached as a whole piece.
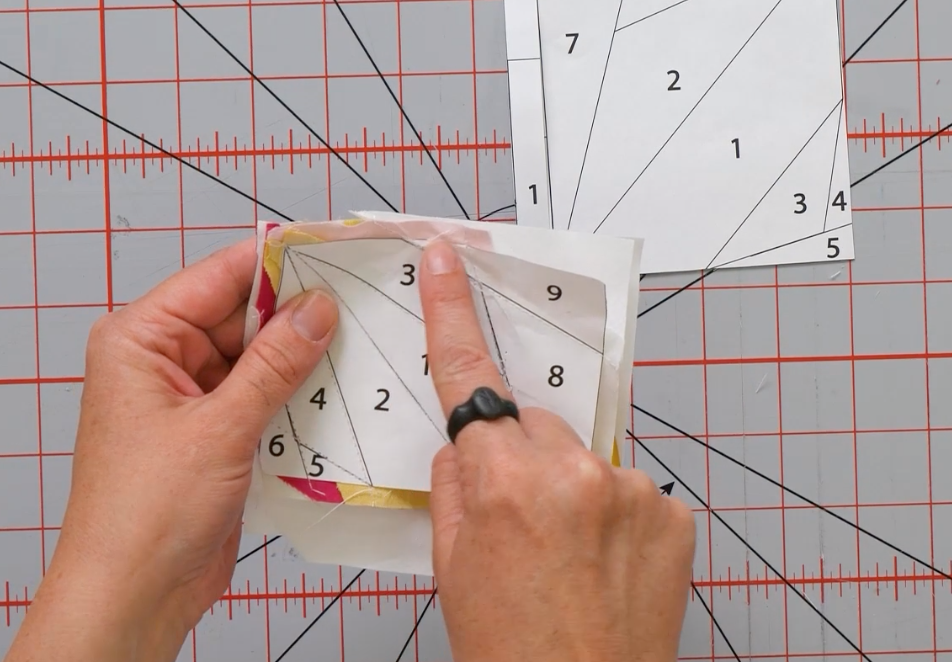
2. You’ll be left with the wings on either side of the centerpiece. Cut the divided wing segments of the template into quadrants for each butterfly wing, as shown below.
Measure a piece of fabric against a top wing quadrant as shown below with the back of the fabric against the back of the template. Select a piece of scrap fabric slightly larger than the template piece.
The fabric you selected will be the color for piece #1 on the template. Repeat this process and select the second color for piece #2. Place the second piece of fabric on top of the first and pin it to ensure the template won’t slip.
Quilter Tip: Don’t forget to check your bobbin and thread to set up for your project!
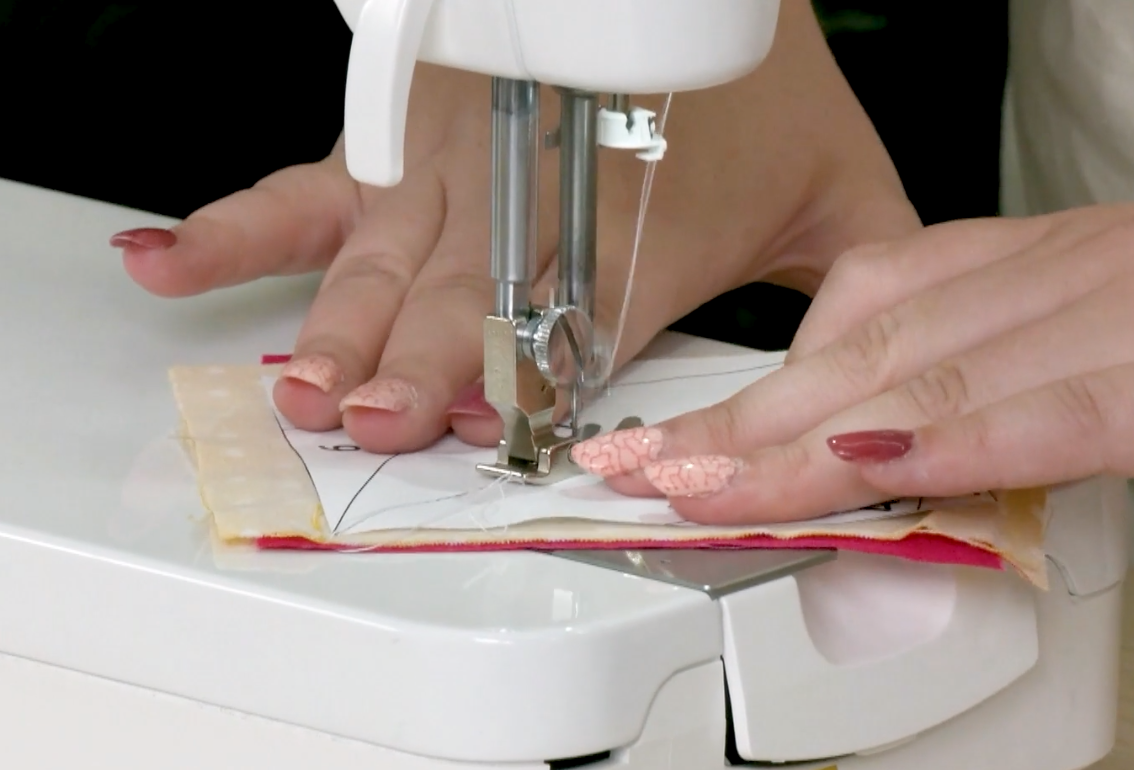
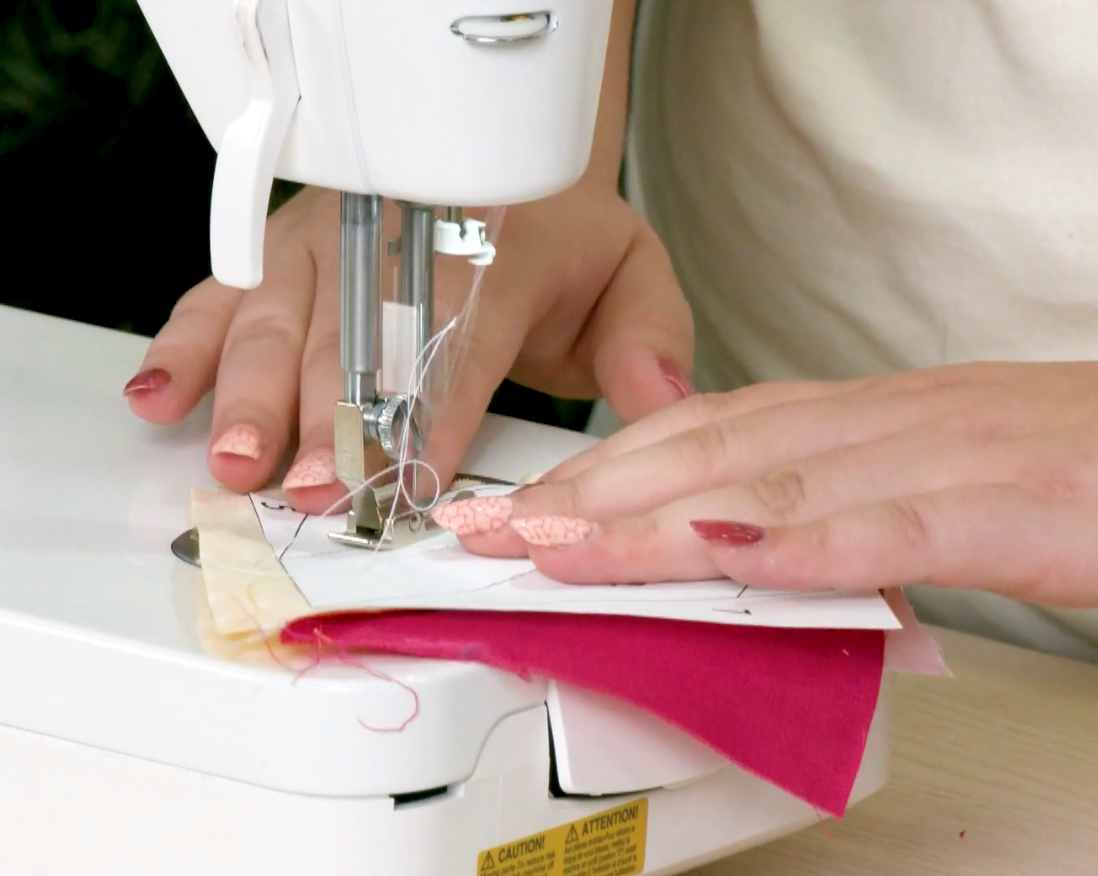
With the fabric and template pinned, sew down the line between sections one and two on your template, as demonstrated by Maddie in the image below.
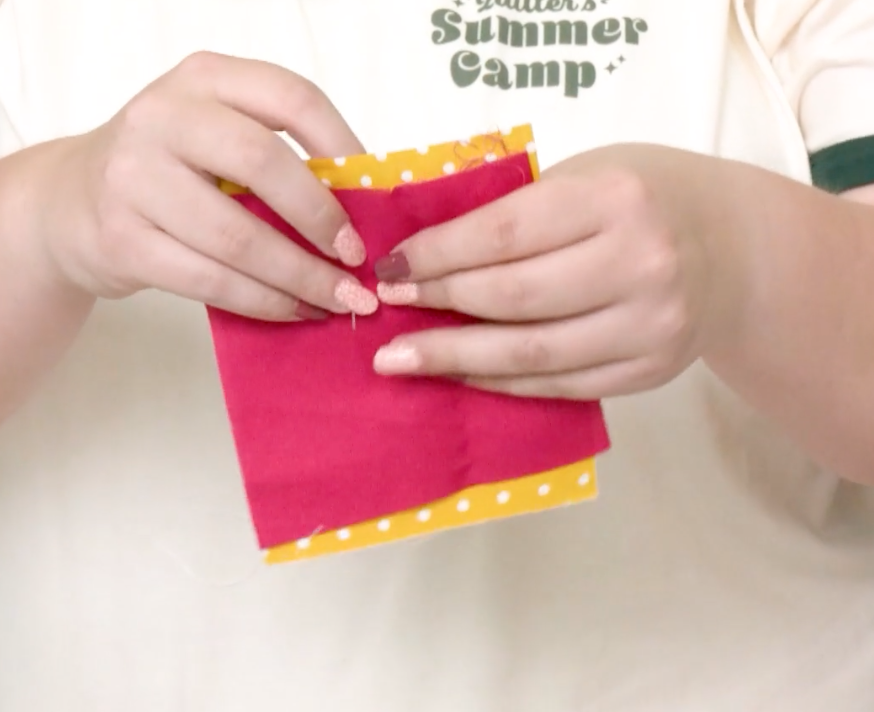
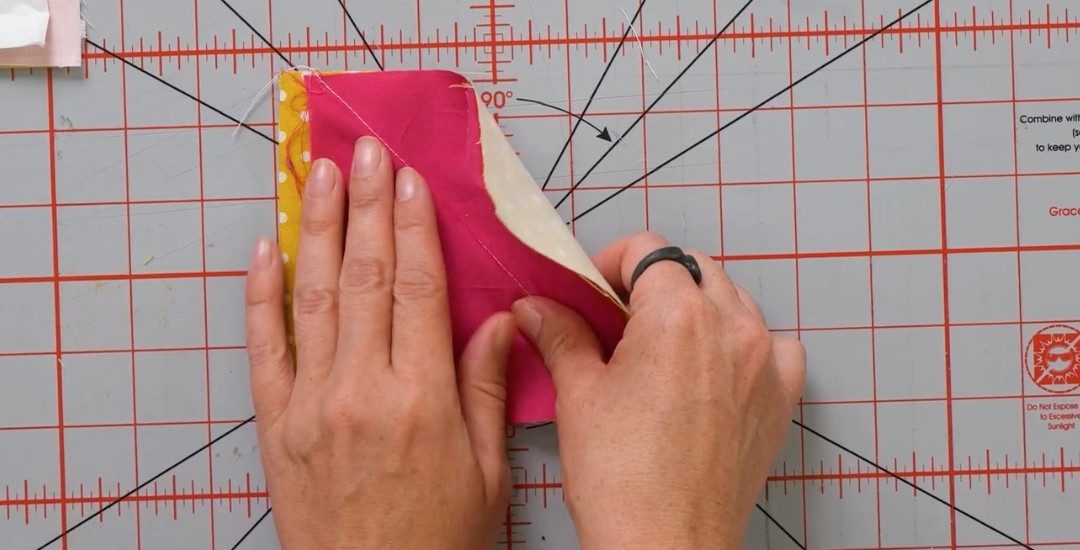
Next, you’ll fold the first layer of hot pink on top of itself, as demonstrated by Kourtney in the image below.
The layers of pink and yellow fabric will stay to the left of your stitching. The two pieces of fabric to the right of your stitching will be cut off with a ¼” seam allowance from the sewed line.
Quilter Tip: Don’t forget to fold the paper template away from the fabric you’ll be cutting.
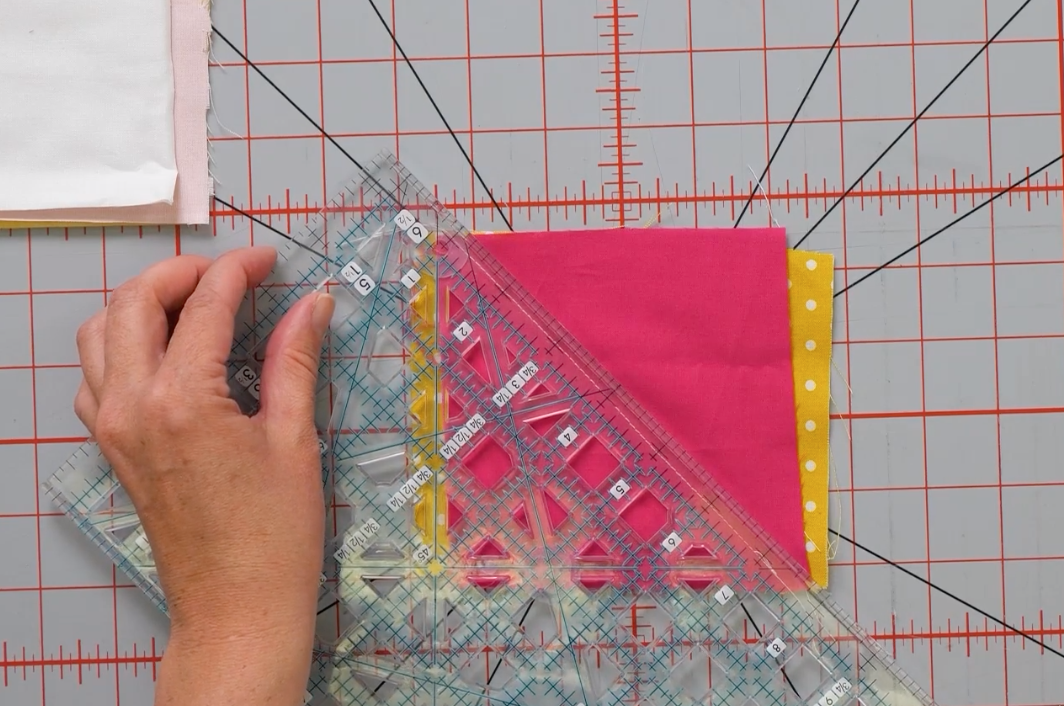
Use your ruler to measure the ¼” seam allowance.
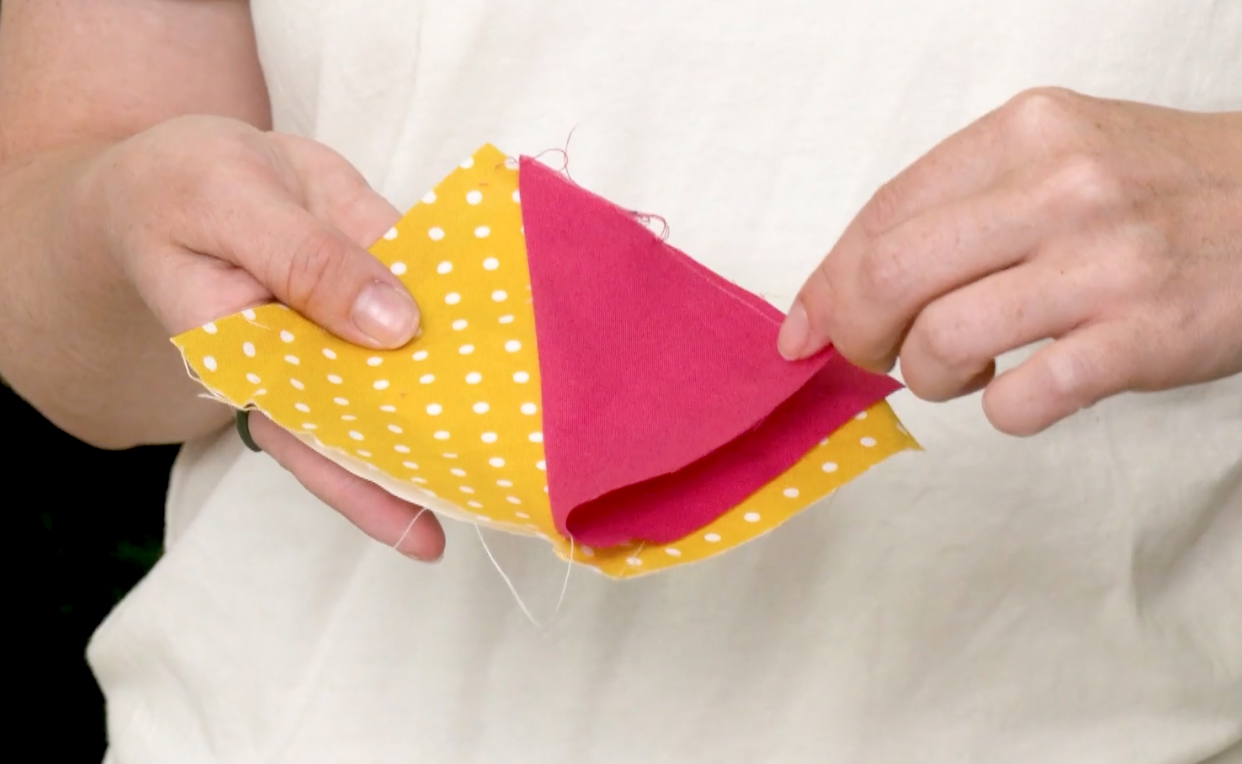
Align your rotary cutter’s guide on the ruler track, cut off the two excess corners, and iron the remaining fabric into a square shape, as shown below.
Next, select a fabric for piece #3 in your paper template.
In their template, Kourtney and Maddie selected a light pink for piece #3. They pinned it to the ironed-flat square and repeated the same process from pieces #1 and #2.
Here, Maddie is showing how to sew down the line of piece 3.
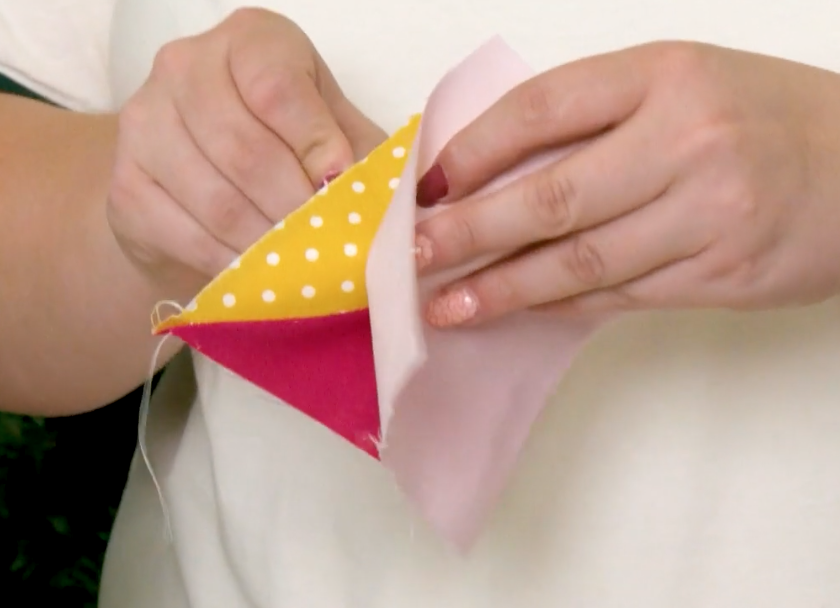
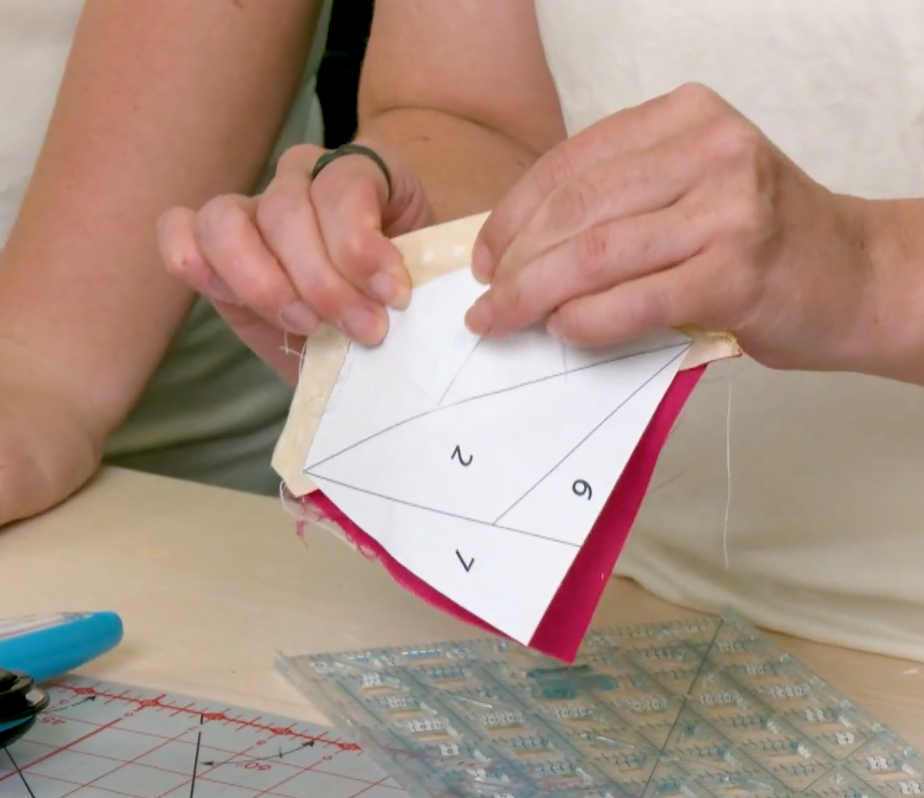
Fold back the paper template in preparation to cut the excess fabric.
After folding the paper template away,
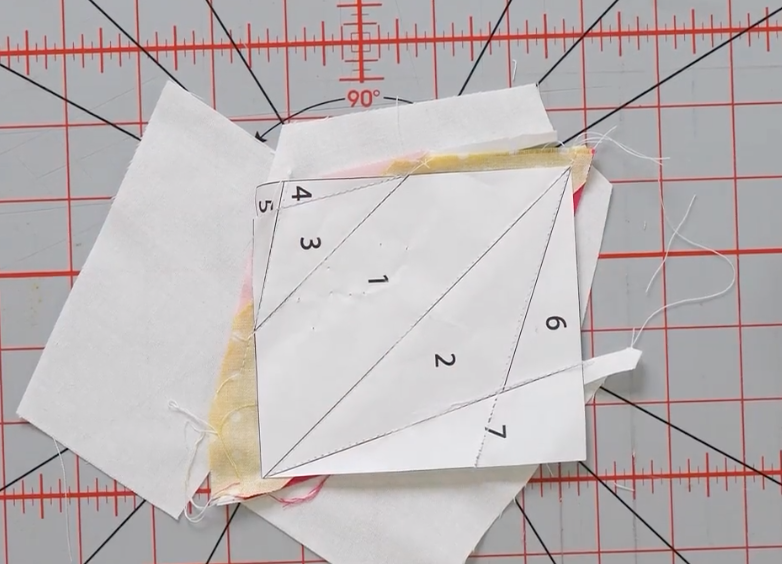
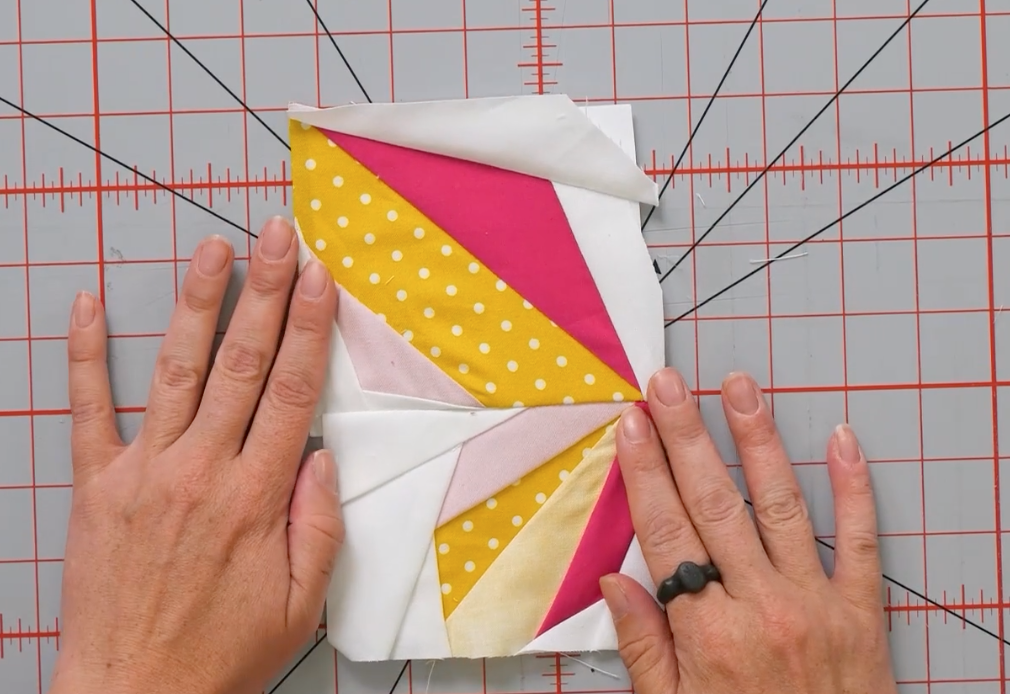
Continue these steps until you’ve sewn each numbered section from one to seven. Pieces four, five, six and seven will be your white/background color.
Once you add each piece to the template, turn the project template side up and trim the excess fabric leaving a ¼” seam allowance if possible.
|
|
|
|
|
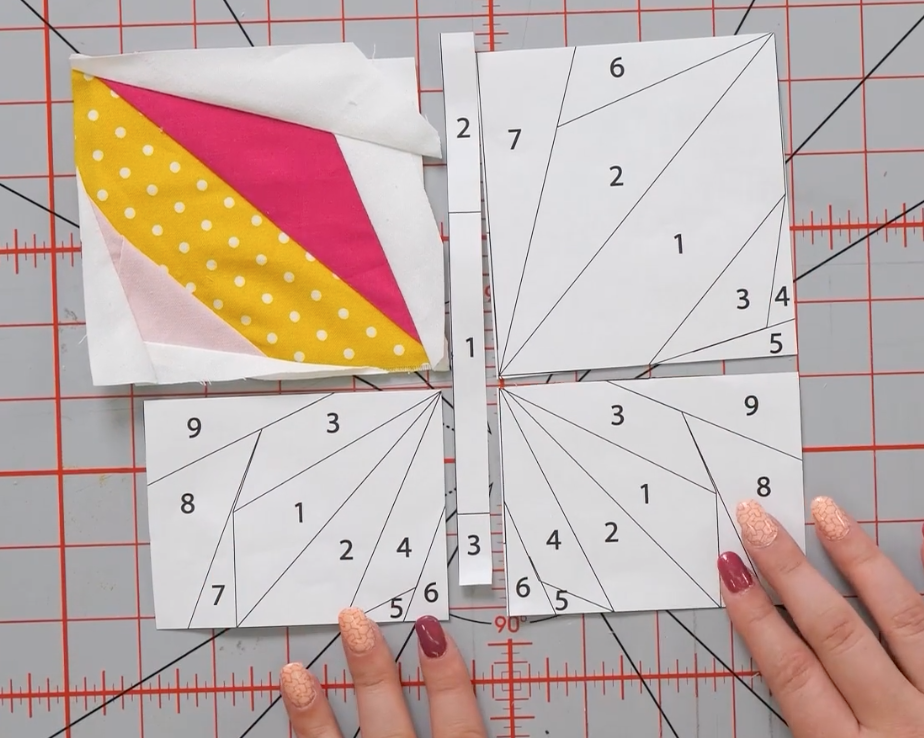
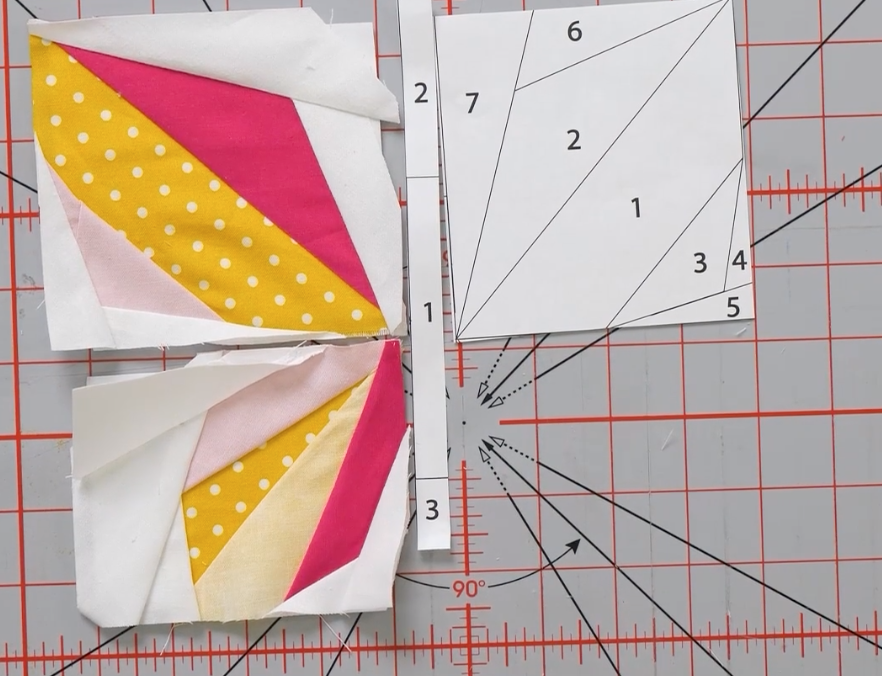
Complete the smaller wing, flip it on top of the first wing you completed with the right sides together, and sew along the seam allowance to attach the wings.
Quilter Tip: You can make any animal with these quilting principles if you make a pattern for yourself. Try it!
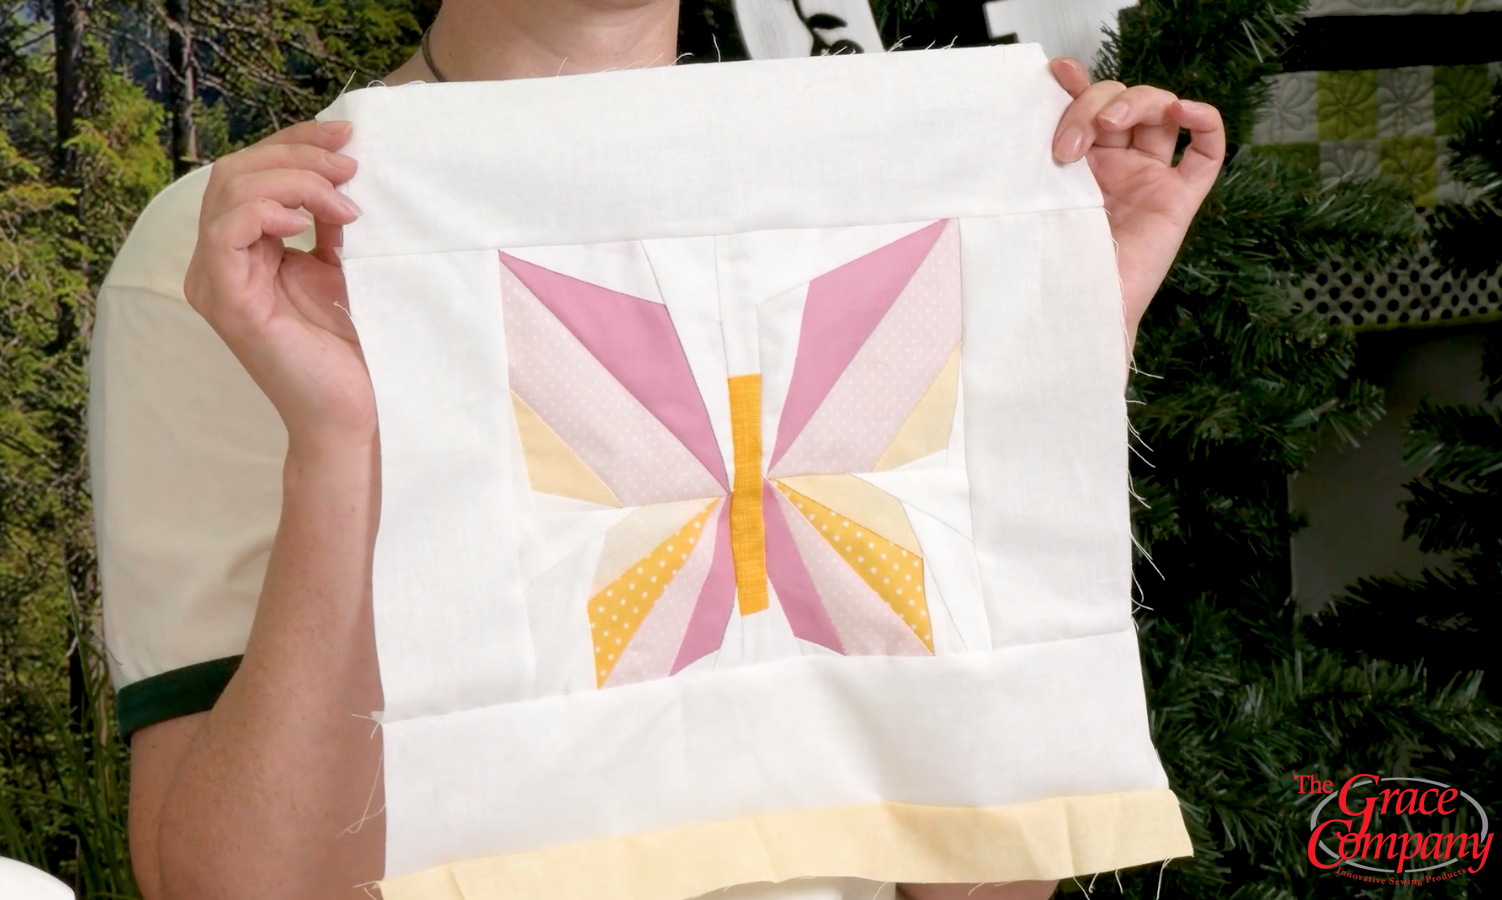
Attach the center line of pieces for the abdomen and repeat the same piecing process for the opposite side wings. This design could easily be used as a quilt block, or you could choose to create something like this one-of-a-kind jacket!
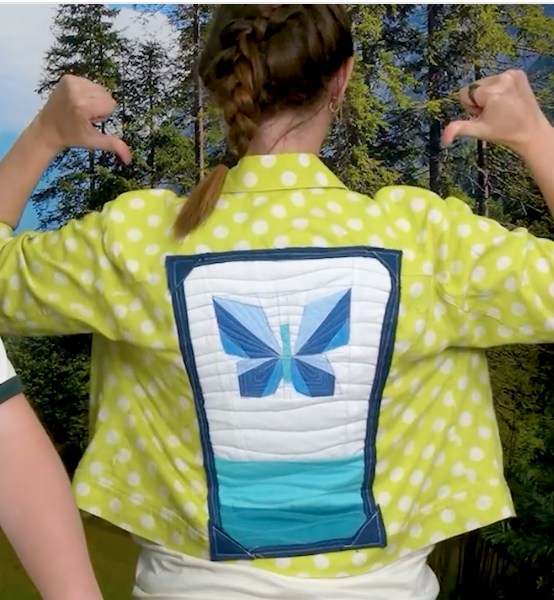
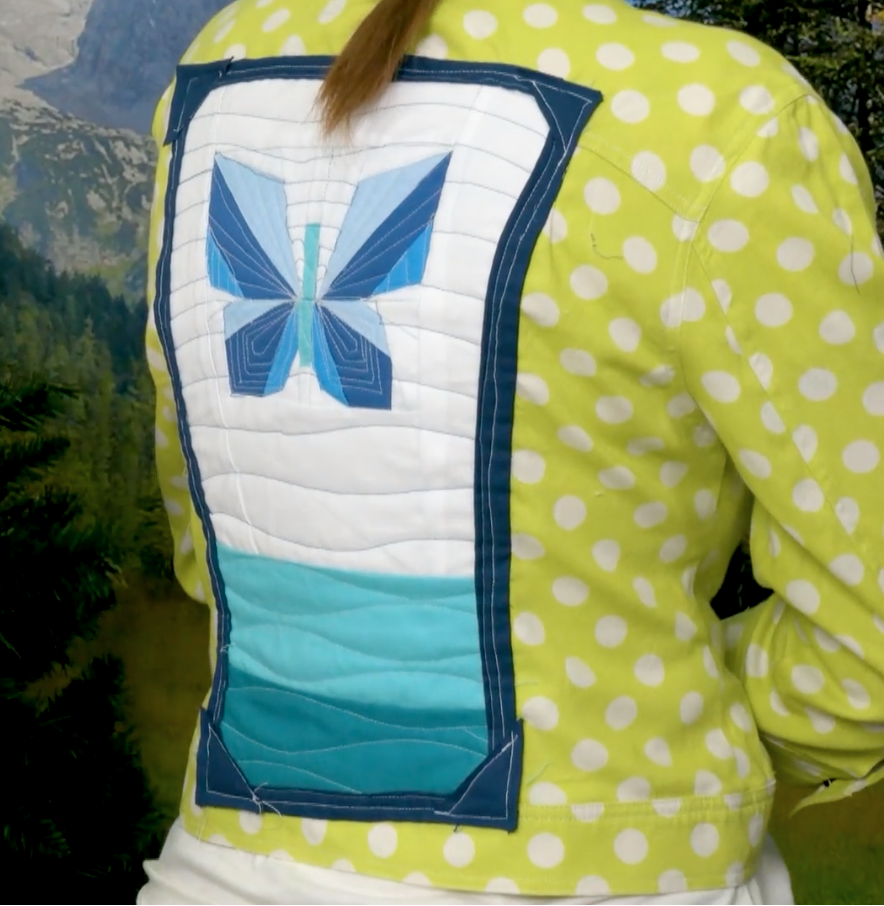
Here is the final result Kourtney and Maddie prepared for this tutorial.
We love the free-motion designs that Kourtney and Maddie chose to finish off their design. Great job, ladies! We can’t wait to see your next quilting in fashion endeavor.
If you enjoyed this project, we hope to see you again at one of our upcoming quilting events. Keep an eye out for our annual Fall Festival, and sign up for our bite-sized newsletter, The Weekly Drop, to ensure you don’t miss a thing!
Happy quilting,
The Grace Family
For over 25 years the Grace Company has been the leading manufacturer of high quality quilting frames and quilting accessories. What truly sets The Grace Company apart from other competitors is its level of quality, value, and experience toward all their endeavours. From products to external and internal customer experience, the Grace Company responds to market and customer needs and continues to lead the quilting industry. Grace Company frames and hoops are designed to be easy to build and compatible with most major quilting machines. They'll have the quilting product you need.