Shopping cart
$0.00
Have you ever wanted to make a quilt but felt intimidated by the time commitment? This quick and colorful quilt project is perfect for you. I challenged myself to see if I could make an entire quilt in just one day and the results were surprisingly rewarding. The process was straightforward, and dare I say, easy. With minimal supplies and no complicated steps, this project proves that even beginners can create a beautiful quilt in no time. It’s a fun, fulfilling way to spend a day and walk away with something you’ll be proud of.
All pattern information and product links are provided at the end!
All you need for this quilt are:
A 60° triangle ruler
Rotary cutter
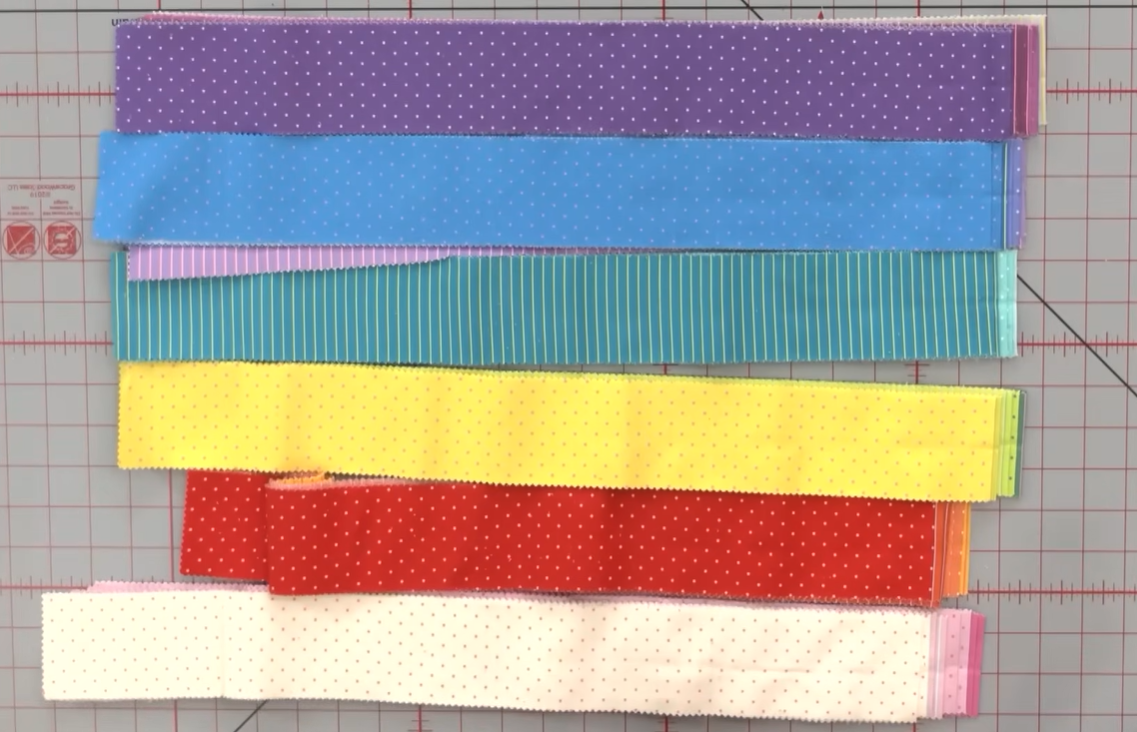
A jelly roll — that’s a bundle of pre-cut fabric strips that are 2.5" wide and about 42.5" long
I highly recommend using a very colorful jelly roll so you get lots of vibrant colors and values in your quilt!
What You Will Be Making
Sort & Sew Your Strips:
Time ~ 1 Hour
First, you are going to start by sorting your jelly roll strips into color groupings. In my example, I grouped my strips into reds, blues, purples, and pinks/cream.
Once your colors are grouped:
Lay 4 strips from the same color group in the order that you want to sew them together. 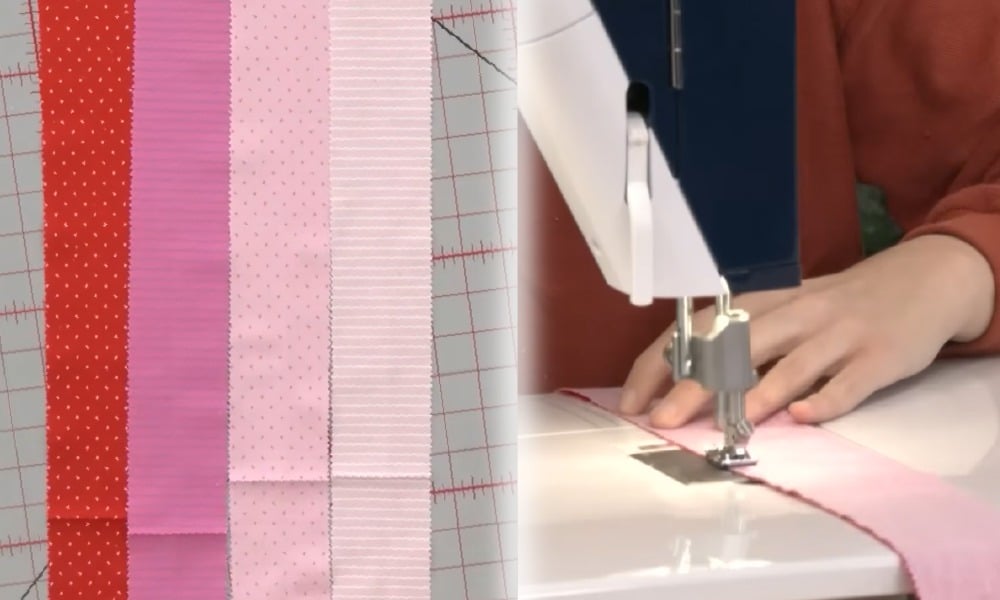
Start with two of your strips and place the fabric right sides facing and sew together.
Reminder to give yourself around a ¼" seam allowance.
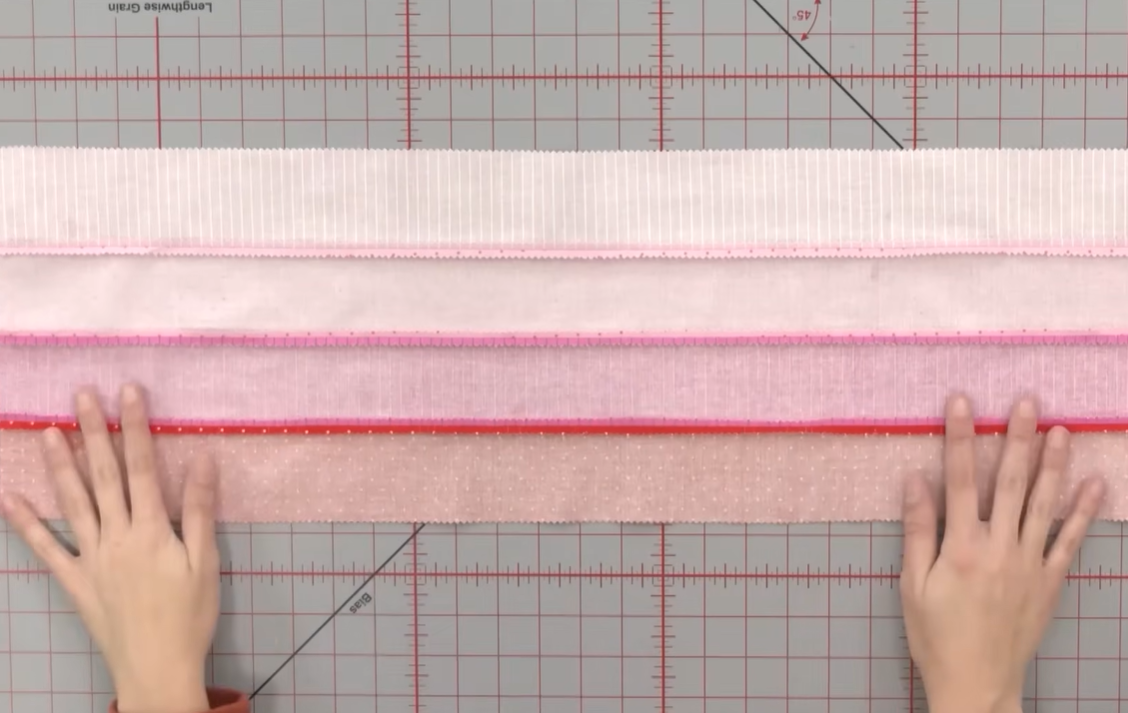
Repeat the process with all of your color groups.
For best results, I recommend pressing the seams open so everything lays nice and flat.
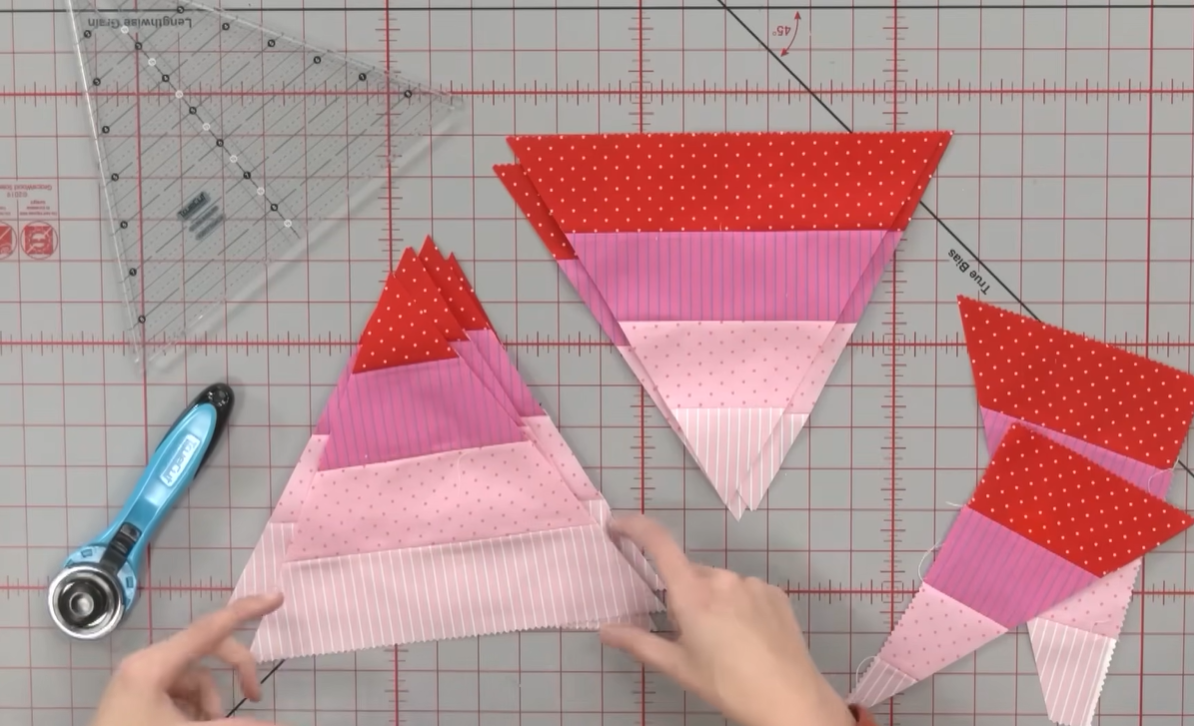
Grab your rotary cutter and triangle ruler, things are just getting started!
Time ~ 30 minutes
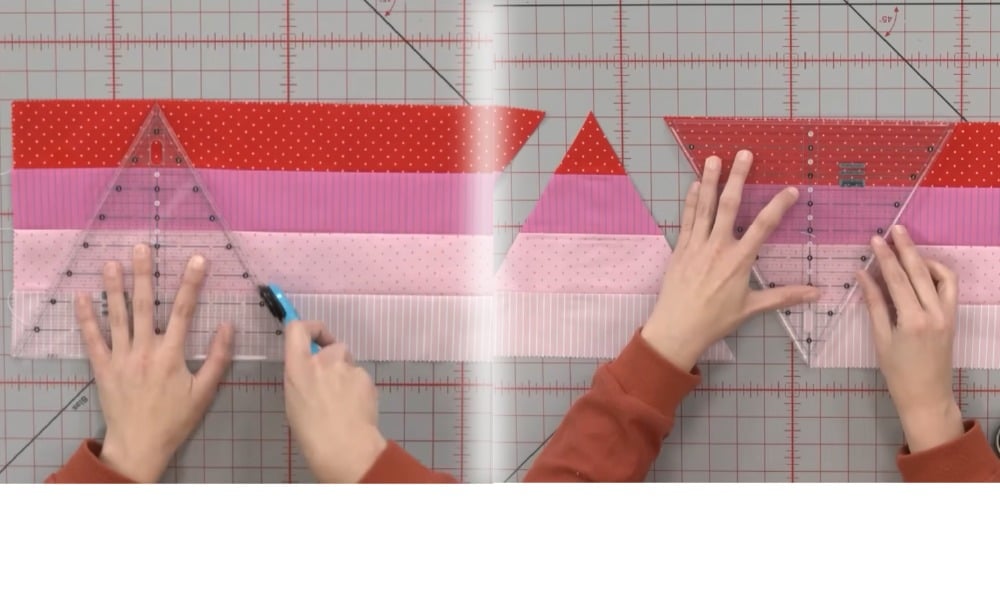
With your 60° triangle ruler:
Line up your ruler on your sewn strip set. Match up the corner of your ruler with the corner of your fabric.
Cut your first triangle.
Then flip your ruler to make the most of your fabric and cut your next triangle!
Repeat until all strips are sub-cut.
Each strip set should make 4 triangles with the lighter value at the bottom and 3 with the darker value at the bottom.
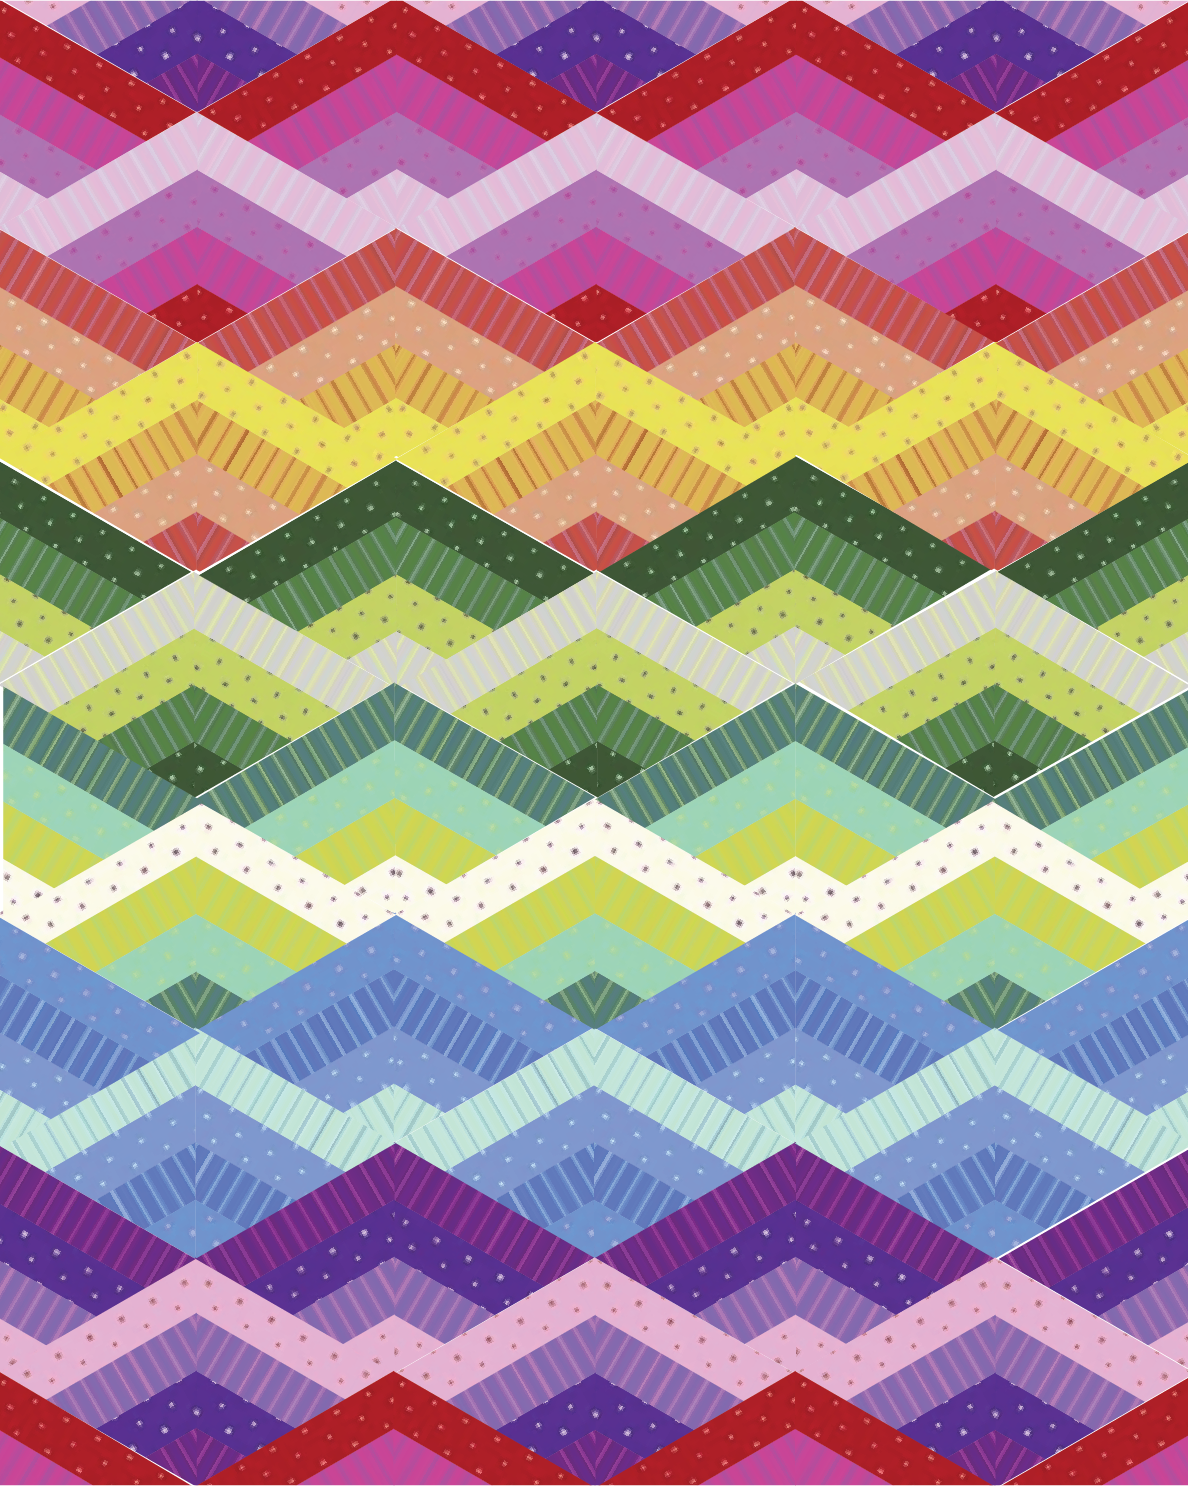
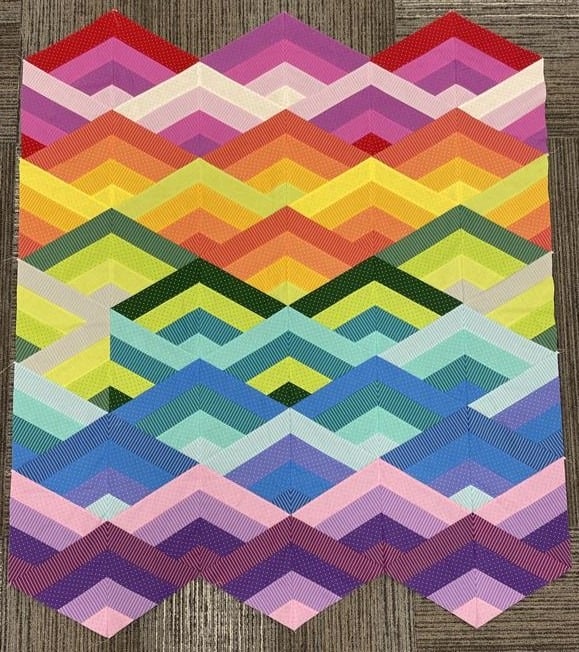
This is the best part! Arranging the layout of your quilt.
Time ~ 15 minutes
For my quilt, I arranged the triangles into a gradient, starting with reds and pinks and slowly blending into purples.
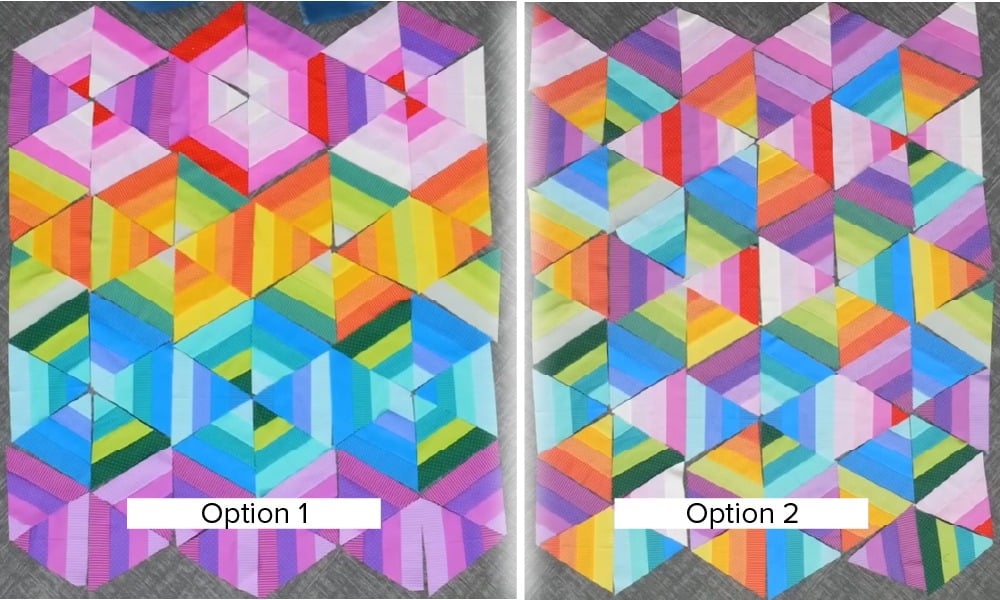
Take your time and experiment with the placement and see what speaks to you. These are just a few alternate layouts I tried, but the real fun is seeing what you come up with. There are so many ways to mix and match pieces to create unique patterns!
Pro Tip: Take a photo of your layout before sewing. It’ll be your best guide as you piece the quilt together.
Before sewing, take all the triangles from the same row and stack them in the order they’ll be sewn together. This will help keep your rows organized and prevent mix-ups.
Now it's time to piece the quilt top!
Time ~ 30 minutes
Sew your triangles together diagonally in rows.
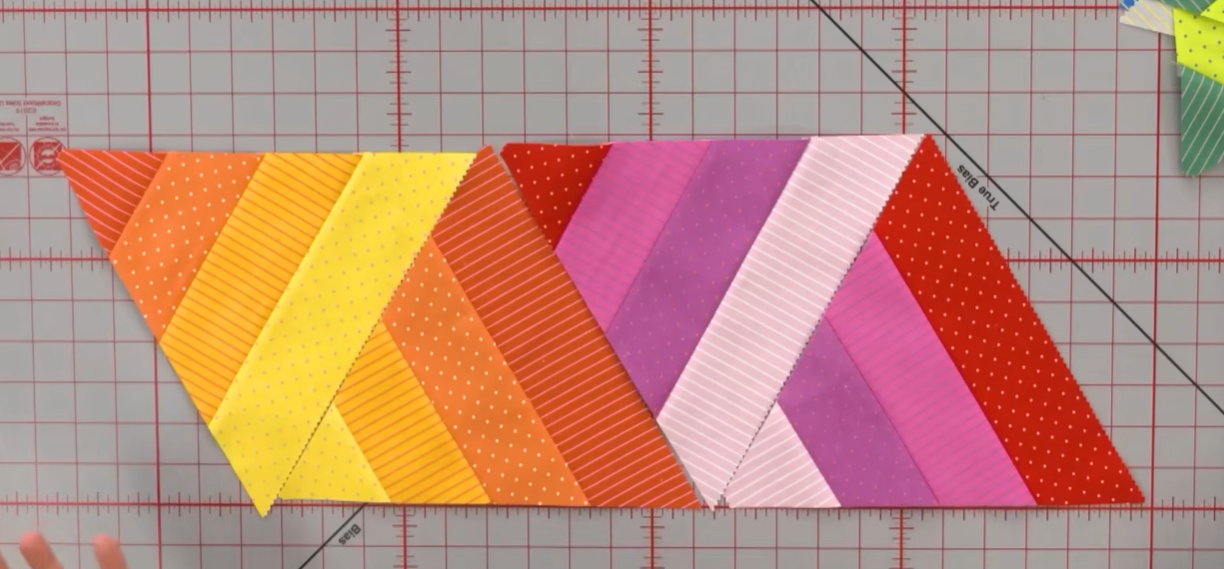
A good trick is to sew one triangle, check your alignment, and then sew the next. Keep going until the row is complete.
Once you’re done, press your row flat with an iron so it stays nice and smooth.
To connect the rows and finish your quilt top:
Time ~ 15 minutes
Pin rows together carefully, especially at the triangle points, to get the cleanest look. Add additional pins as needed.
Lay your fabric faces together and pin at the seams where the triangle points align.
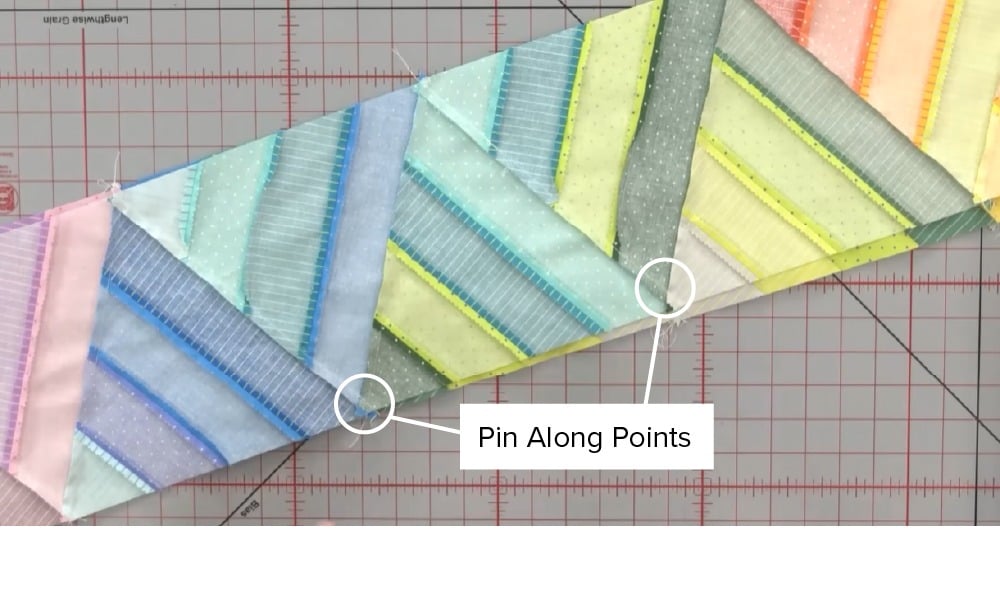
Before you stitch, open it up once to make sure you’re seeing that diamond shape where pieces meet!

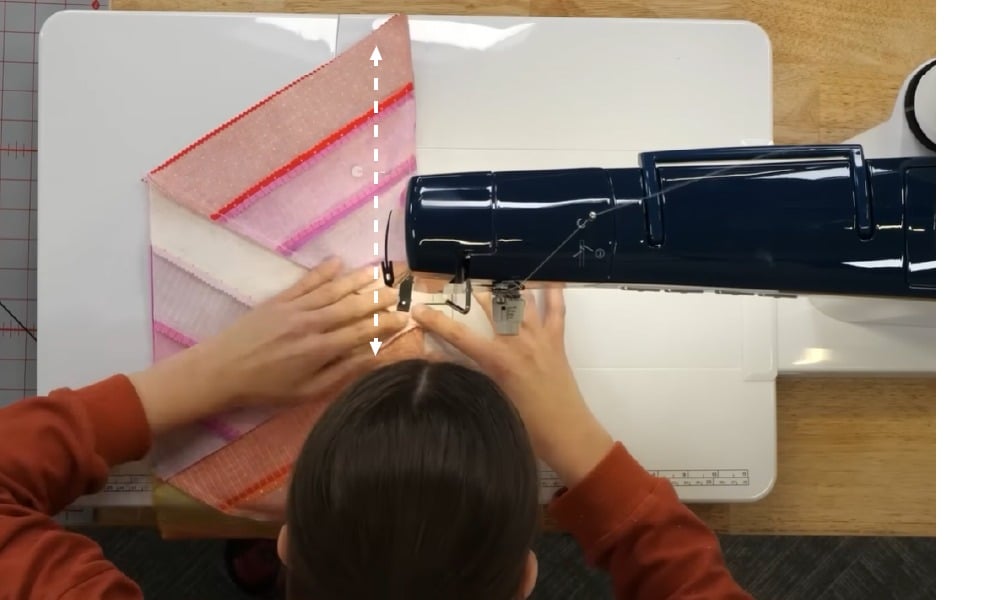
Sew your rows with a ¼" seam allowance.
When I was piecing it together I noticed some bulk around the seams, so I pressed it again so that it lays flat and pretty!
Repeat this for all your rows. Just like that, you have a full quilt top!

If binding those sharp quilt points feels intimidating, you can trim them off and make your quilt into a rectangle instead. Just note that this will make your finished quilt a bit smaller.
And if you need help learning to bind your quilt by machine, make sure you check out our blog on that too!
Get the FREE pattern here!
https://drive.google.com/file/
Link to the Youtube Tutorial
Make This Fun Quilt in a Day With a Jelly Roll! | Jenna Tries
Products Used
Here’s everything I used to make this quilt:
Shop ALL products here: https://graceframe.com
If you loved this project, follow us on social media to see all the other fun and creative things we’re making! Don't forget to share a photo of your quilt and tag us!


Instagram: @gracecompanyquilting Facebook: @gracecompanyquilting TikTok: @gracecompany
For over 25 years the Grace Company has been the leading manufacturer of high quality quilting frames and quilting accessories. What truly sets The Grace Company apart from other competitors is its level of quality, value, and experience toward all their endeavours. From products to external and internal customer experience, the Grace Company responds to market and customer needs and continues to lead the quilting industry. Grace Company frames and hoops are designed to be easy to build and compatible with most major quilting machines. They'll have the quilting product you need.