How to Quilt on a Sewing Machine
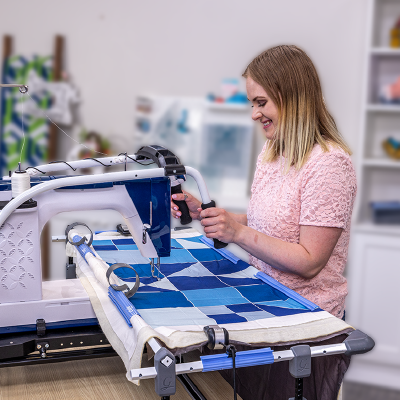
You don’t have to send your quilt top to an expensive professional longarmer, and you don’t have to invest in a quilting machine—though if you do, you’ll step into a whole new world of patterns and creative possibilities! If you’re looking for a more affordable way to finish your quilts, you can use your home sewing machine and get your quilt top finished all on your own.
This post will break down how you can finish quilts with your sewing machine today.
Step 1: Decide on a Quilting Project and Technique
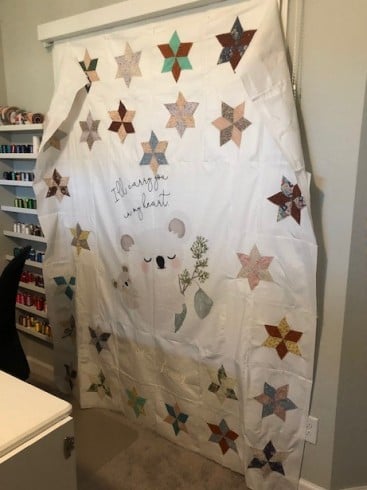
If you’re new to machine quilting, start with a small and manageable project like a baby quilt or wall hanging. Large quilts can be overwhelming due to the amount of fabric you have to move under the needle. Starting small helps you build confidence and skills before tackling bigger projects.
There are two primary methods for quilting on a domestic machine: straight-line quilting and free-motion quilting. Before you start quilting, you’ll need to decide which look you want to properly set up your machine for that quilting method.
- Straight-Line Quilting:
- Keep the feed dogs engaged (they help guide the fabric evenly).
- Use a walking foot to ensure even stitches.
- Mark lines or use the edge of the foot as a guide for straight stitching.
- Free-Motion Quilting:
- Drop the feed dogs so you can move the fabric freely.
- Use a hopping foot, which moves up and down with the needle to press the quilt layers together as stitches form.
- Practice moving the fabric smoothly to create curves, loops, and intricate designs.
Step 2: Gather the Right Tools
The right tools can make quilting on a sewing machine much easier. Here are some essentials:
- A Sewing Machine: With quilting, the more throat space your sewing machine has, the better. The length of your machine’s throat determines how much space you’ll have to work, and the size of the quilted patterns you can easily make. The Little Rebel sewing machine is purpose-made for piecing and quilting with thirteen inches of throat space.
- Basting Supplies: To hold your quilt sandwich together, choose between pins or spray basting. Spray adhesive can be a quicker alternative to pinning.
- Grippy Gloves: Wearing gloves with rubberized fingertips will help you control the quilt as you maneuver it through the machine.
- A Quilting Frame: You can quilt without one, but The Grace Company’s Mini Quilter or Cutie Tabletop Fabric Frame allows you to move the machine instead of the fabric, giving you a longarm quilting experience with your domestic sewing machine.
Step 3: Set Up Your Quilting Space
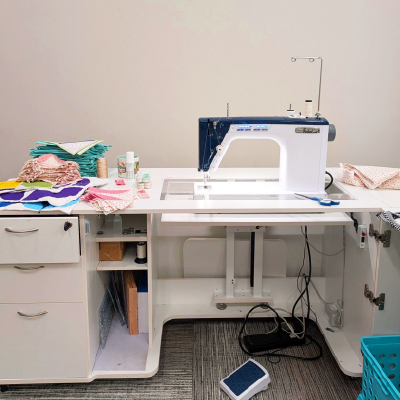
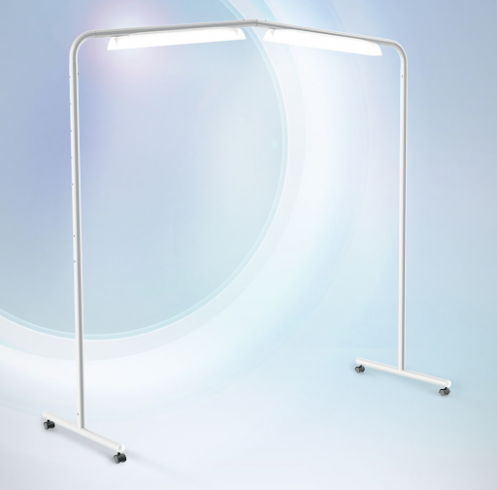
Before you begin quilting, it’s essential to set up a comfortable and functional workspace. Consider the following:
- Ensure Adequate Room: Place your sewing machine at one end of a large table to give yourself ample space to support the quilt as you work. If your table is small, pull it away from the wall to allow excess fabric to drape over the sides.
- Use an Extension Table: Expanding the base of your sewing machine will provide better support and reduce drag while quilting.
- Adjust for Comfort: Make sure your chair and table height are ergonomically positioned so your arms are at a comfortable angle (90 degrees or greater).
Step 4: Plan Your Quilting Motifs
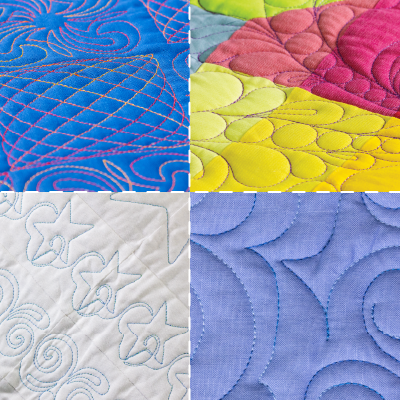
When quilting free-motion designs, remember that your motifs can’t be larger than the area you can comfortably maneuver in your machine’s throat space. Choose designs that fit within your workspace to maintain control and consistency.
Step 5: Begin Quilting at the Center
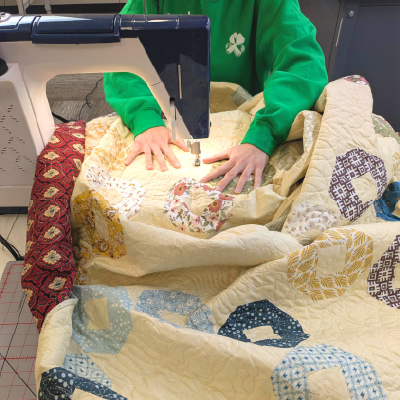
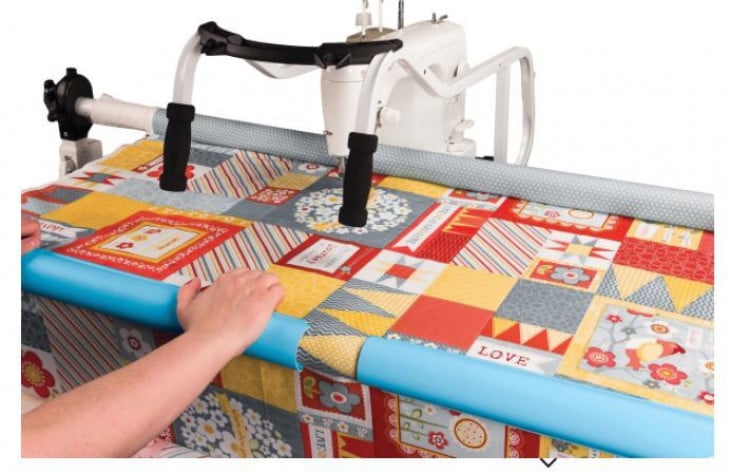
Quilting from the center outward helps distribute fabric evenly and prevents puckering. Here’s how:
- Divide Your Quilt into Manageable Sections: Mentally or physically mark off sections of your quilt so that you can focus on one area at a time without feeling overwhelmed.
- Roll or Fold Your Quilt: Keep the bulk of the quilt controlled by rolling or folding the sections you’re not currently working on. This will make it easier to pass through the throat of your machine.
- Start at the Center: Start stitching at the center and work outward in sections. (Consider stitching in the ditch (quilting along the seams) first to stabilize the layers before adding decorative designs.)
- Move Smoothly and Steadily: Whether you’re using straight-line or free-motion quilting, aim for even, consistent movements to maintain uniform stitches.
- Check for Tension Issues: Every so often, stop and check the back of your quilt to ensure you’re not experiencing tension issues or skipped stitches. Adjust your settings if necessary.
Step 6: Just Start!
The most important step is simply beginning. Reading guides and watching tutorials can help, but the best way to improve is by practicing. Embrace the process, and before you know it, you’ll be quilting confidently on your sewing machine.
Take It Slow and Be Patient!
Even if you’re an experienced sewist, don’t forget that quilting is a new skill that takes practice. Make sure you take breaks when you’re quilting. Stand up, stretch, and rest your eyes periodically.
And if you need help learning to bind your quilt by machine, make sure you check out our blog on that too!
Most importantly, be kind to yourself. Expect a learning curve. Each project will improve your skills, so don’t stress over imperfections.
Whatever you plan to quilt, and however you plan to quilt it, may this blog post give you the confidence you need to get started.
Posted by The Grace Company
For over 25 years the Grace Company has been the leading manufacturer of high quality quilting frames and quilting accessories. What truly sets The Grace Company apart from other competitors is its level of quality, value, and experience toward all their endeavours. From products to external and internal customer experience, the Grace Company responds to market and customer needs and continues to lead the quilting industry. Grace Company frames and hoops are designed to be easy to build and compatible with most major quilting machines. They'll have the quilting product you need.