How to Make a Rail Fence Quilt Block
The next block in our basic block series is the rail fence block! Its simple design makes it a good starting place for beginning quilters, and its versatile appearance keeps experienced quilters coming back for more. In this how-to guide, we'll show you how to create a design with two alternating color strips, but you can rearrange the order of the colors to get a pinwheel look or a zig-zagging line. You can also add or take away the number of strips you layer in each segment for different results.
If you like learning with a visual tutorial, you can catch ours here. And if you want to learn how to make a couple of different blocks, you can check out our sawtooth star tutorial or economy block tutorial, and stay tuned for more basic block blogs to come.
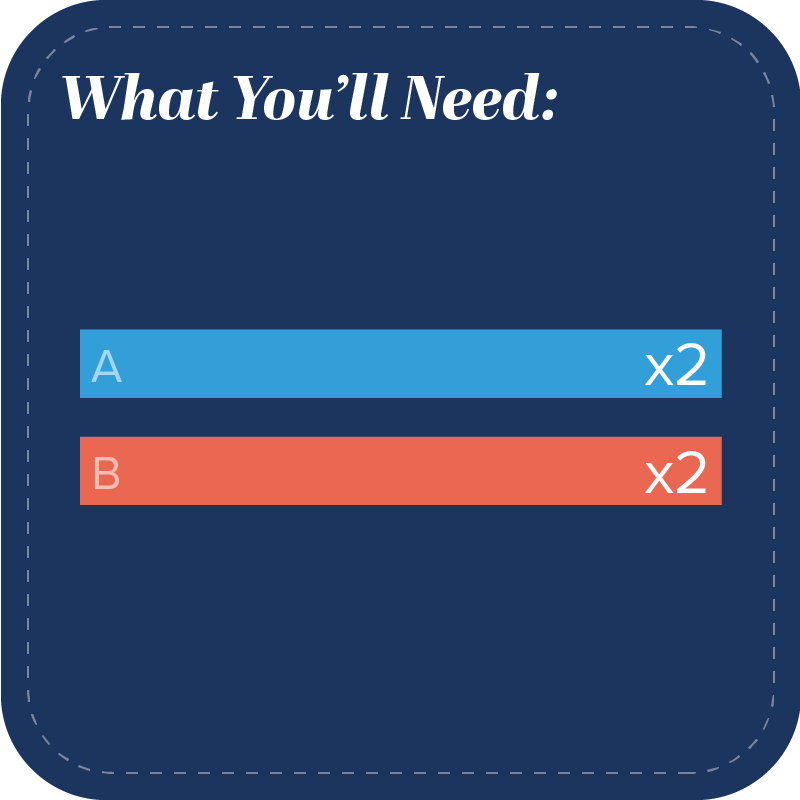
The Fabric You'll Need to Make a Rail Fence Block
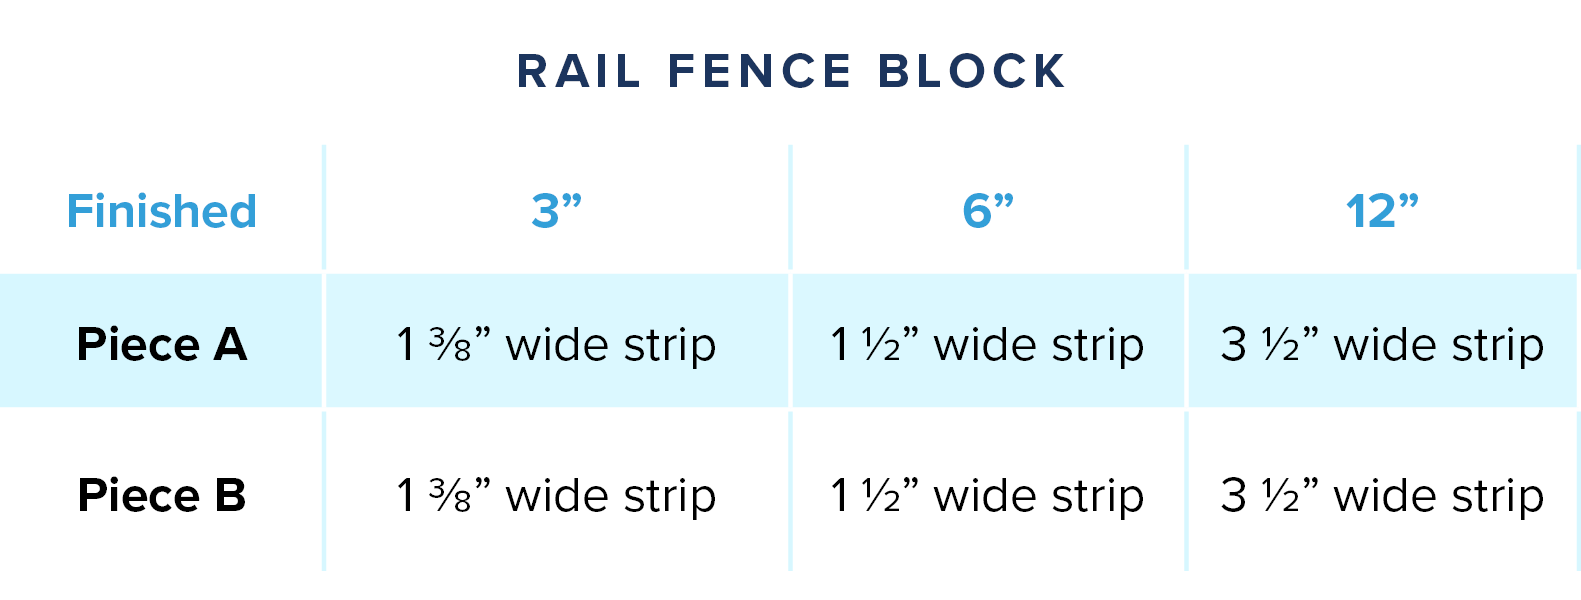
The Rail Fence Block Size Chart Cheat Sheet
Step-by-Step Instructions to Sew a Rail Fence Quilt Block
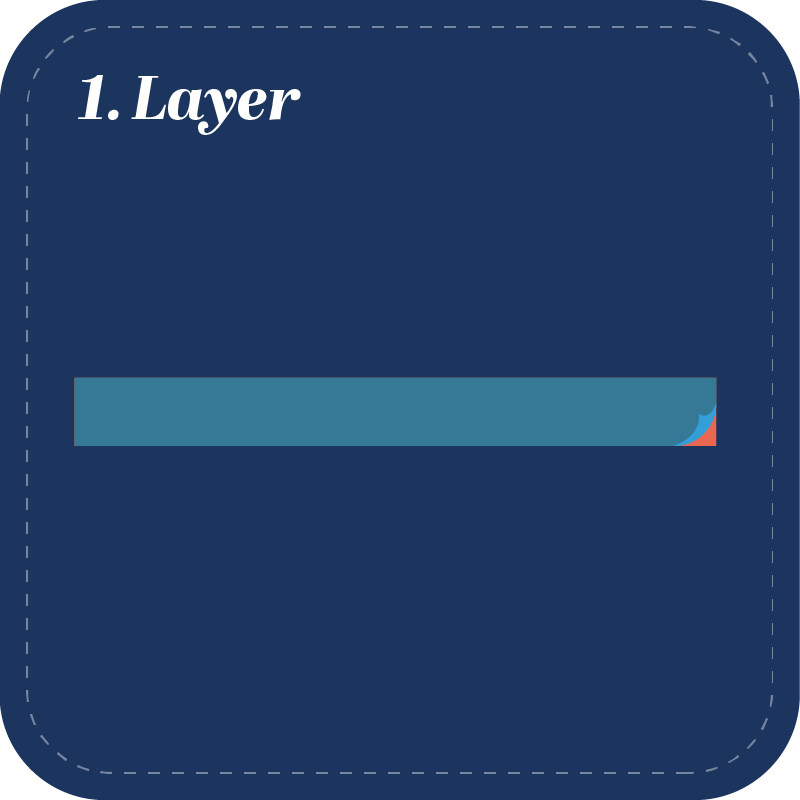
- Use a rotary cutter to cut four long strips of fabric, two in each fabric color. Use the block-size cheat sheet above to determine the width of each strip.
- Layer one of the "A" strips on top of one of the "B" strips, lining up the edges.
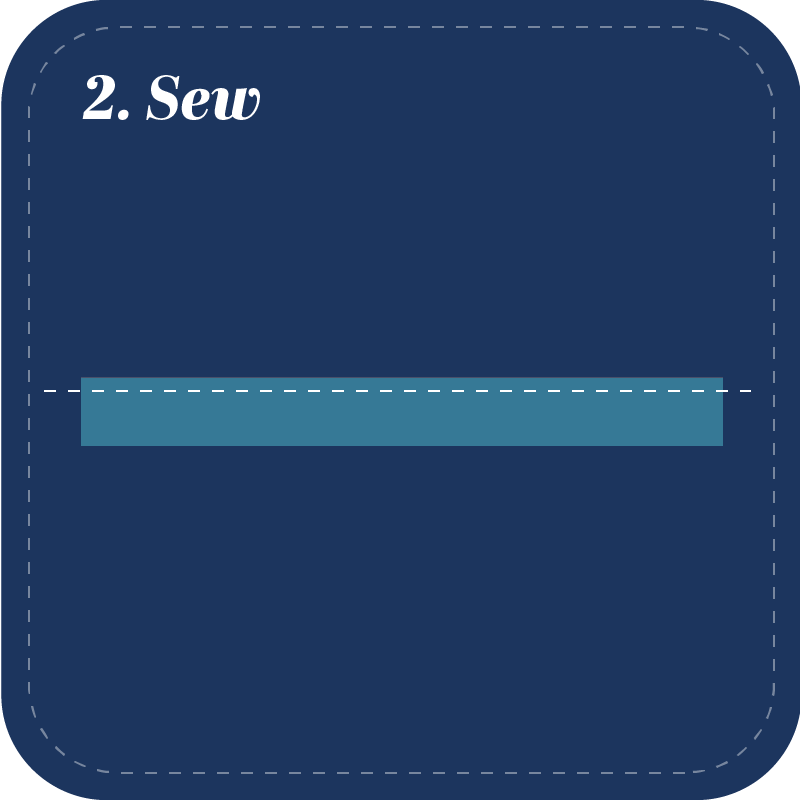
- Sew a .25" seam connecting the A and B strips.
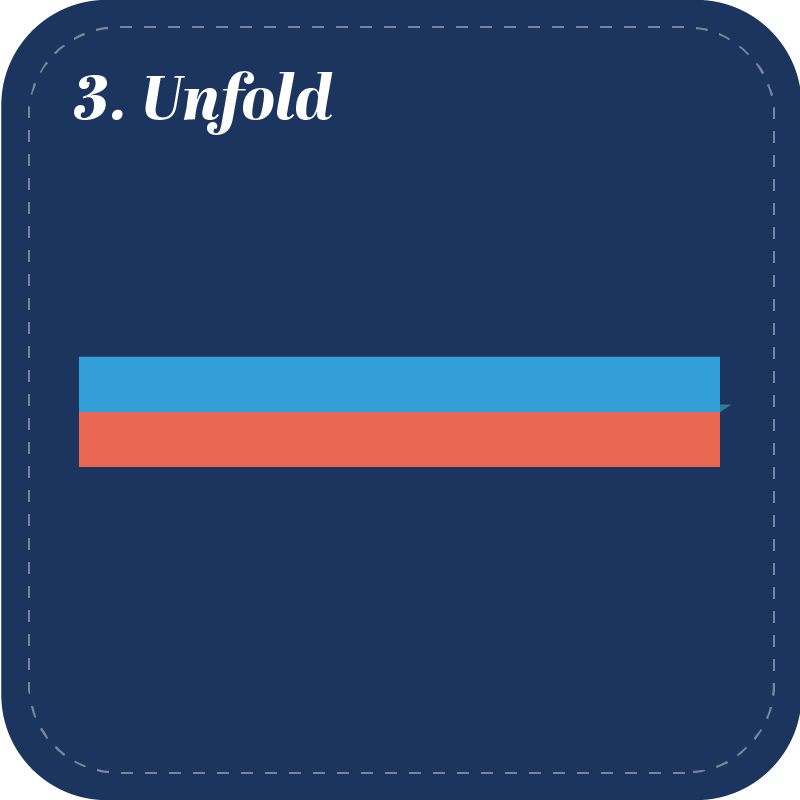
- Unfold the strips and lay the resulting shape flat, so that the seam is not facing you.
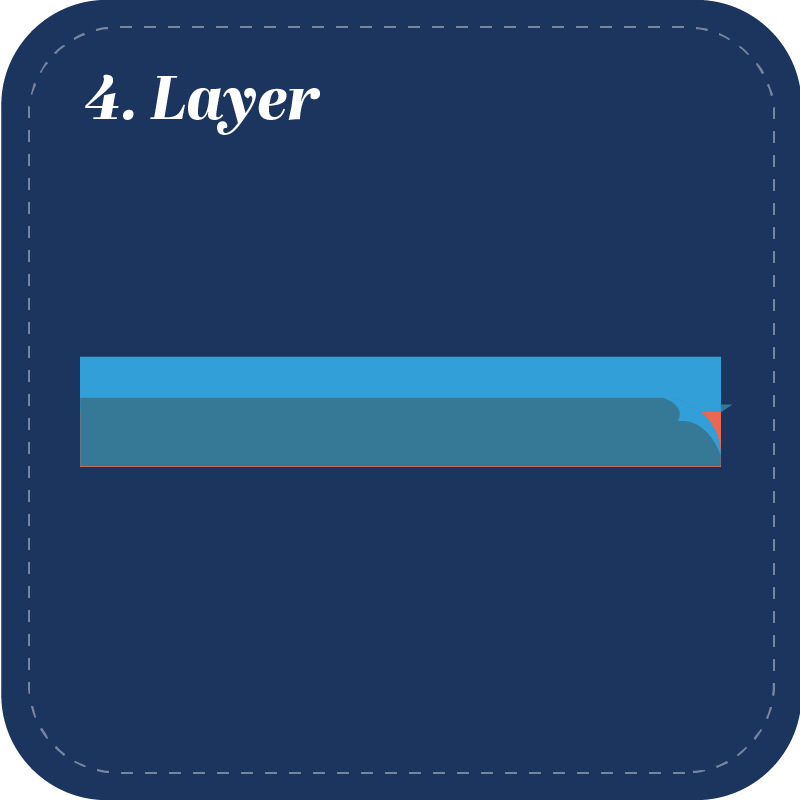
- Layer another A strip on top of the shape, lining it up with the bottom edge of the B strip.
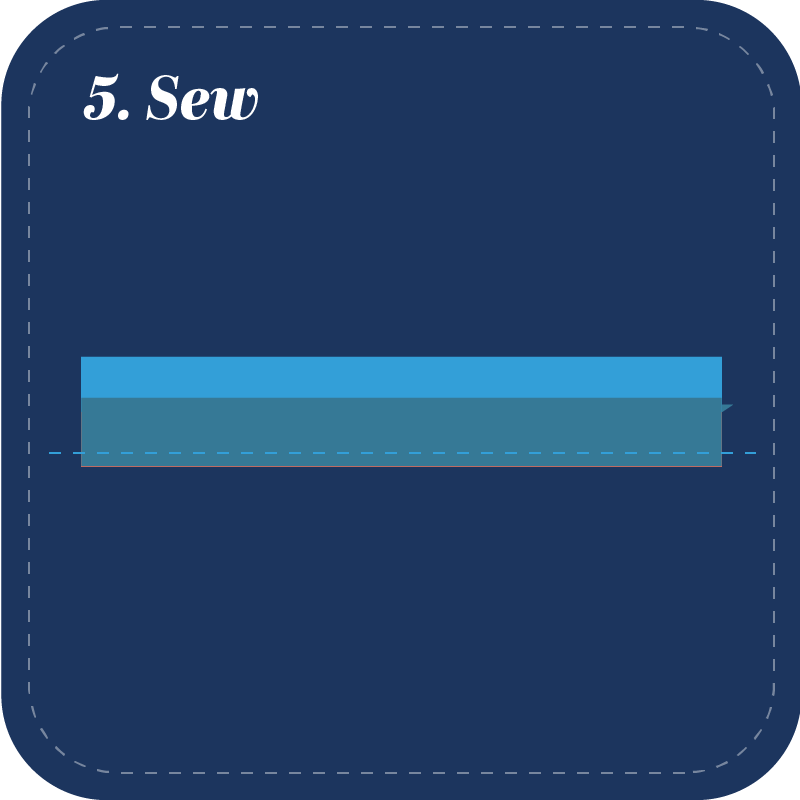
- Sew a .25" seam connecting the A and B strips.
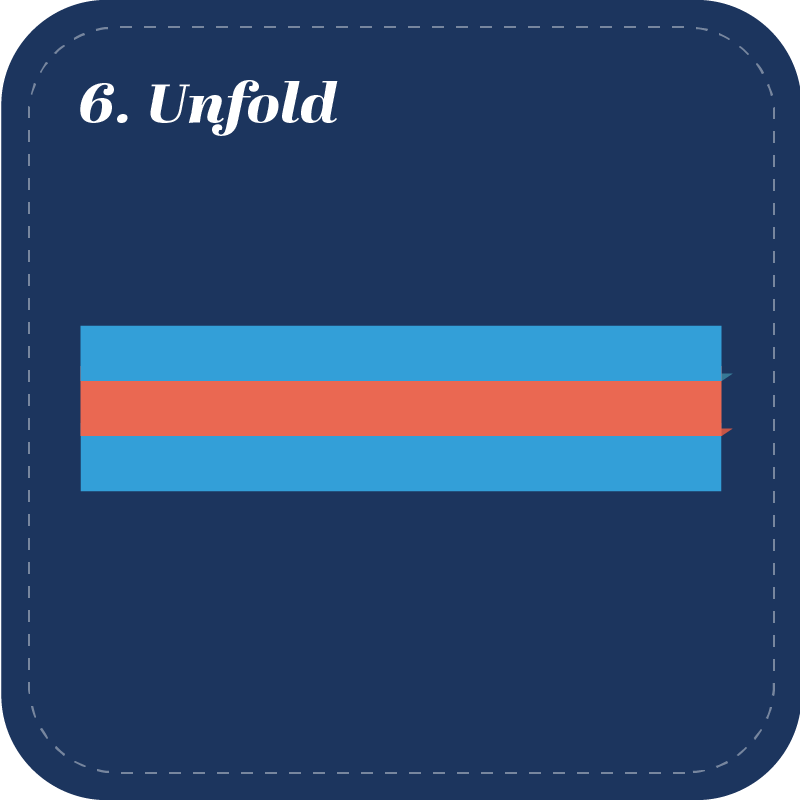
- Unfold the strips and lay the resulting shape flat, so that the seam is not facing you.
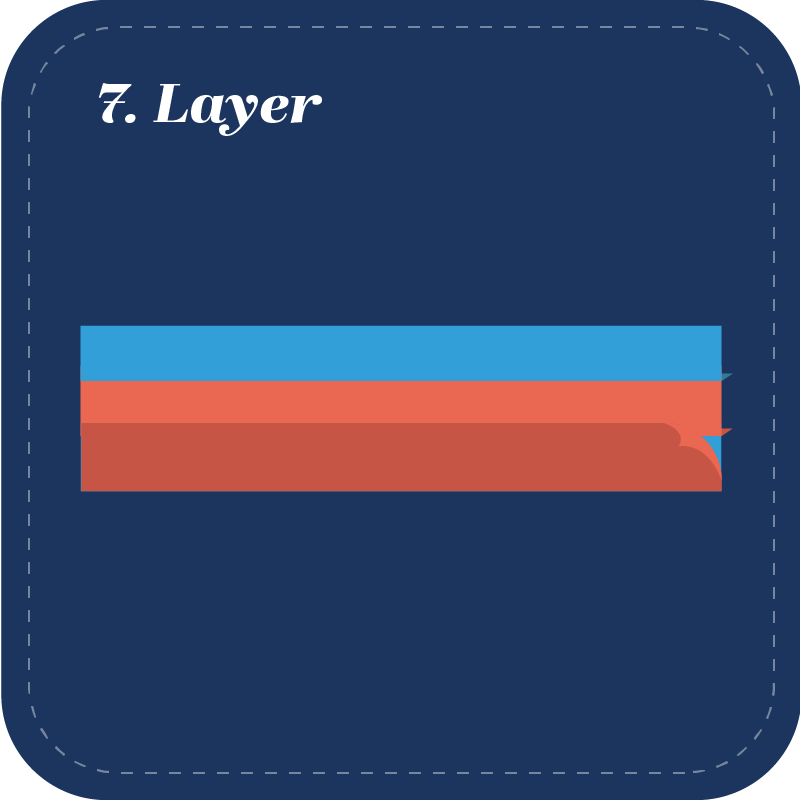
- Layer another B strip on top of the shape, lining it up with the bottom edge of the A strip.
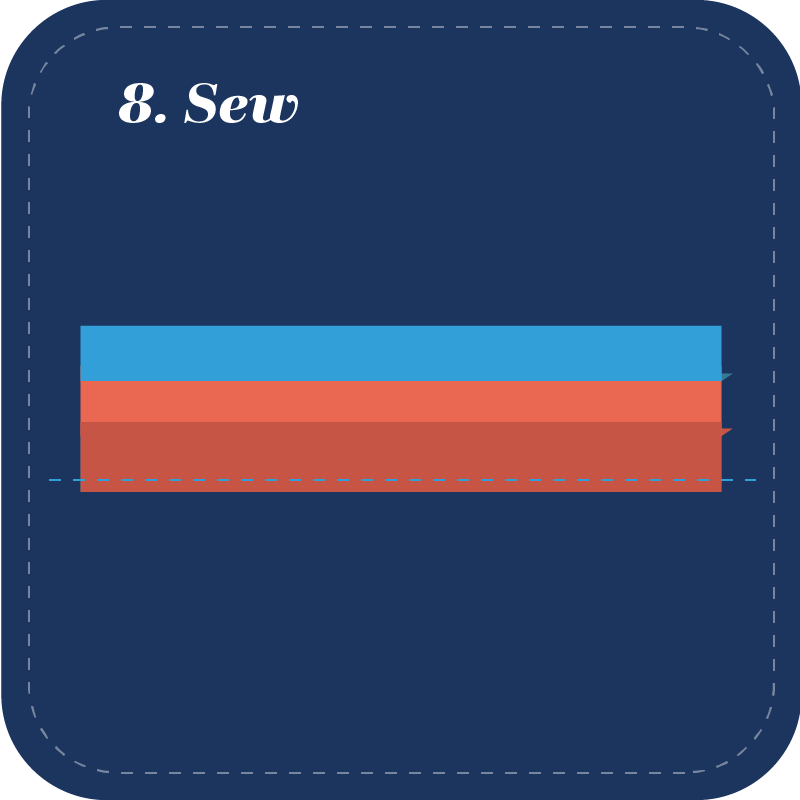
- Sew a .25" seam connecting the B and A strips.
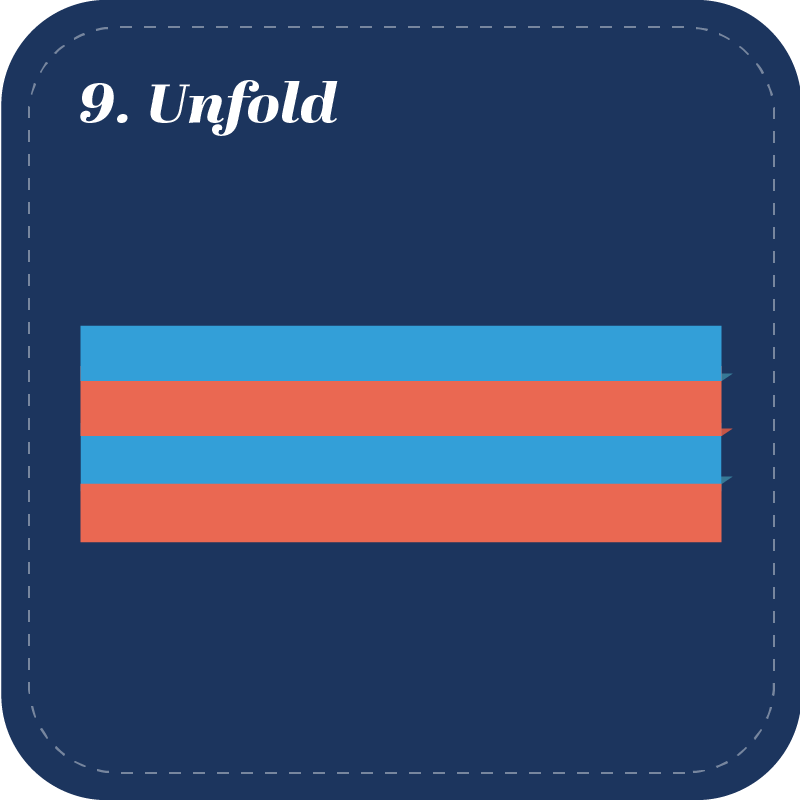
- Unfold the strips and lay the resulting shape flat, so that the seam is not facing you.
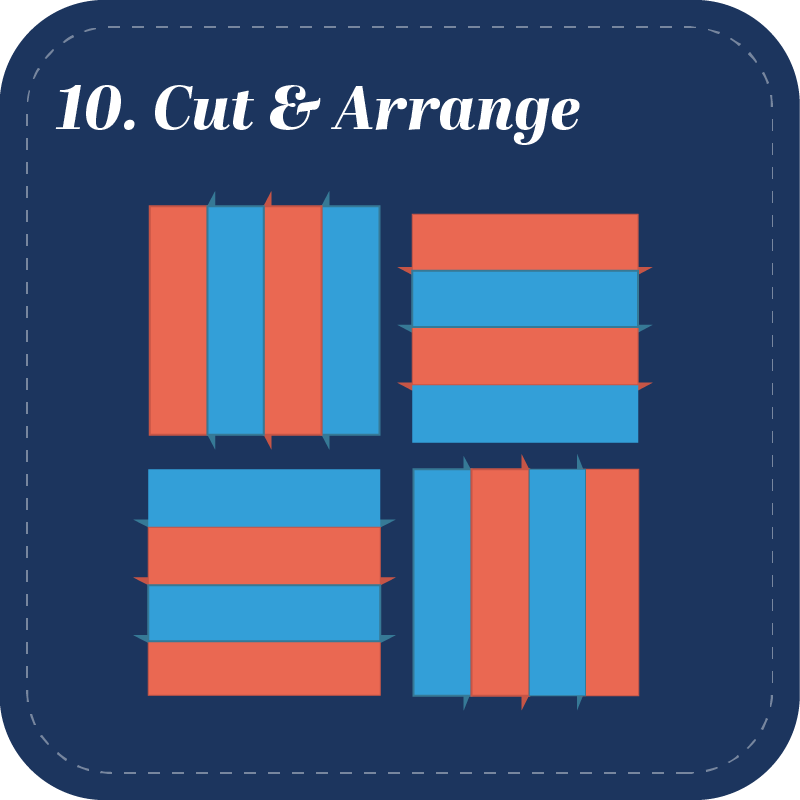
- Cut the resulting shape into four equal squares.
- Arrange the squares so that the top row has one square with vertical stripes and one with horizontal, and the bottom row has one square with vertical stripes and one with horizontal, but their positions are reversed as shown in the image above.
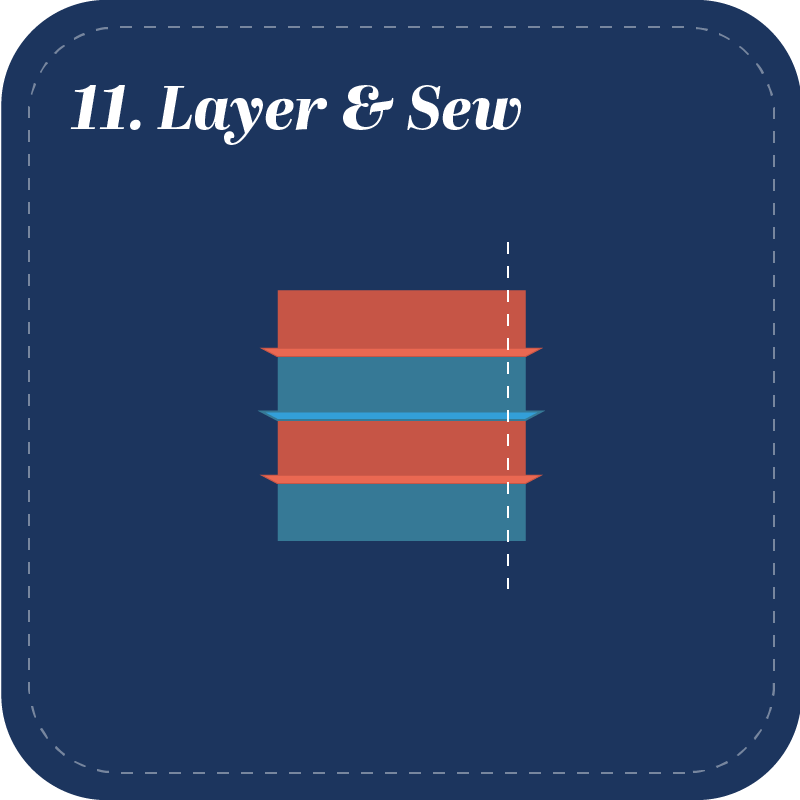
- Take the top two squares, and fold one on top of the other like you would close a book. The seams should be facing out.
- Sew a .25" seam along the "book's" binding, connecting the two squares.
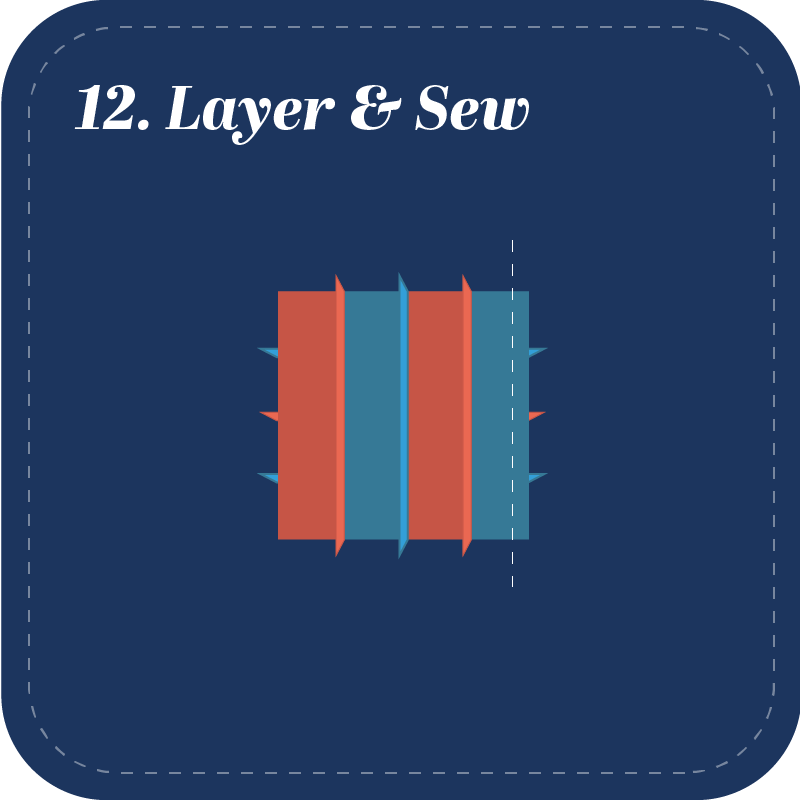
- Take the bottom two squares, and fold one on top of the other like you would close a book. The seams should be facing out.
- Sew a .25" seam along the "book's" binding, connecting the two squares.
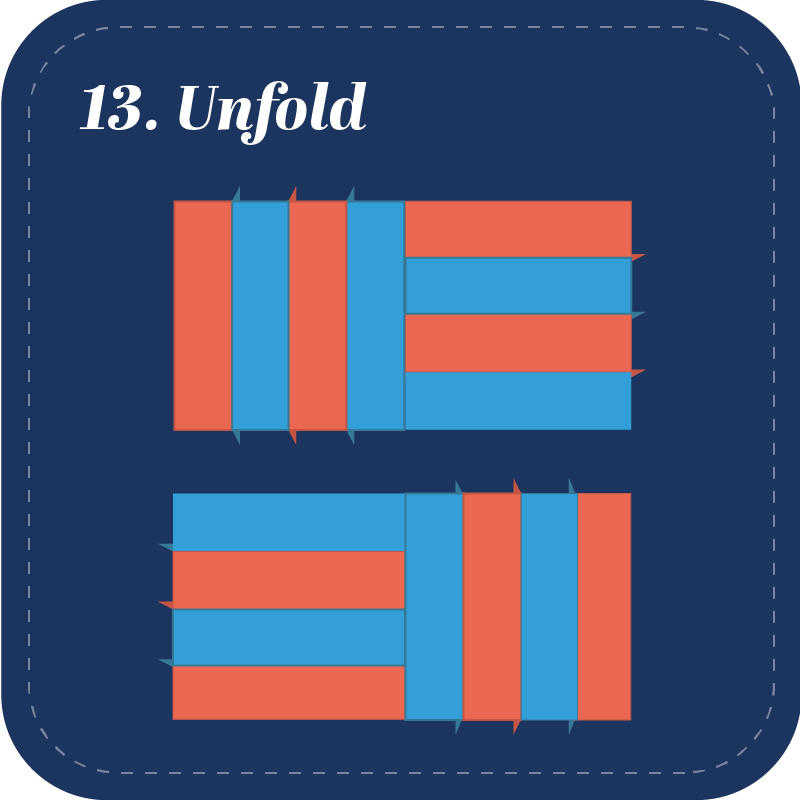
- Unfold both shapes and return them to their previous arrangement.
- Then, flip the shapes over so that the seams face out.
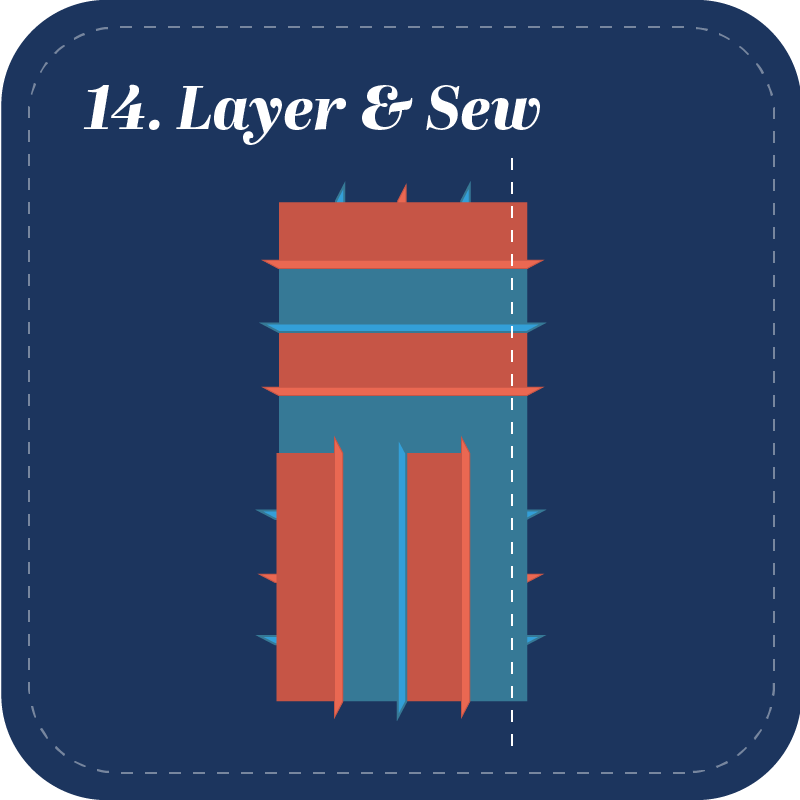
- Fold the two shapes on top of one another, and line up the top edge of the bottom shape with the bottom edge of the top shape.
- Rotate the layered pieces and sew a .25" seam to connect them.
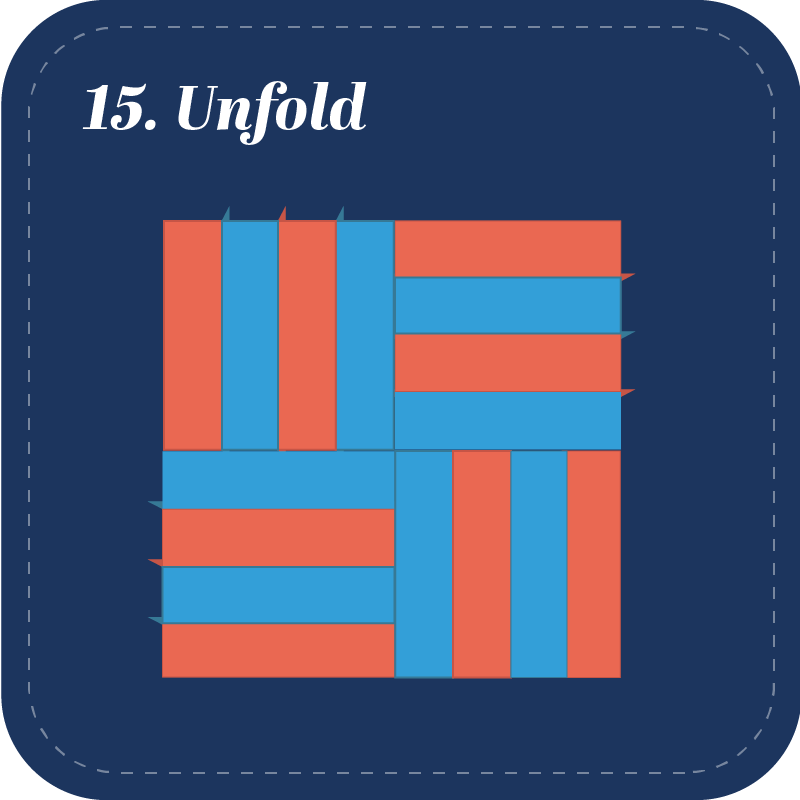
- Unfold the final shape.
With that, you've made your first rail fence block! Keep quilting, keep exploring new blocks and patterns, and keep making beautiful quilts! We'll be here to help you along your way.
Posted by The Grace Company
For over 25 years the Grace Company has been the leading manufacturer of high quality quilting frames and quilting accessories. What truly sets The Grace Company apart from other competitors is its level of quality, value, and experience toward all their endeavours. From products to external and internal customer experience, the Grace Company responds to market and customer needs and continues to lead the quilting industry. Grace Company frames and hoops are designed to be easy to build and compatible with most major quilting machines. They'll have the quilting product you need.


