Shopping cart
$0.00
Every video and blog post we make here at Grace Company is made to answer the question: how do I make a quilt?
Whatever your skill level, we have made something to help you improve your quilting. In this blog, we’ll break the quilt-making process down into its most basic steps, so you can find resources to help you expand your skills in whatever areas you deem your weakest.
Complete beginner with no idea where to start? Check out this series where a first-time quilter makes her first quilt.
Expert quilter looking for a new way to use your skills? Look at these event segments where our experienced quilters create thread paintings using longarms!
The first step in quilting is creating the quilt top. This is the part of the quilt you probably picture: the patchwork portion of the quilt. Here’s how it’s done:
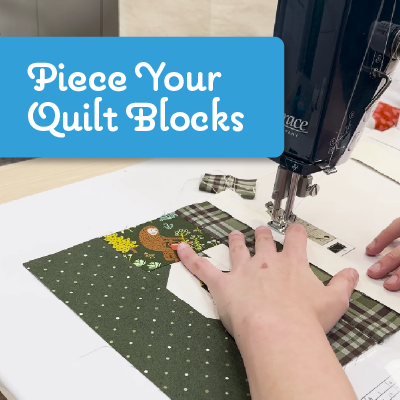
The most basic quilt tops are made up from rows of simple fabric squares sewn together, but more intricate quilt tops are made from more intricate quilt blocks.
The quilt pattern you use should guide you through what shapes to cut and how to sew them together, but if you’re looking for a place to start, you can check out our basic block series where we walk you through how to make a few essential quilt blocks that can be modified or combined to create gorgeous quilt tops.
Videos:
Blogs:
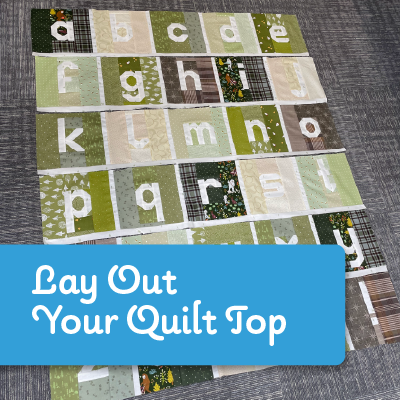
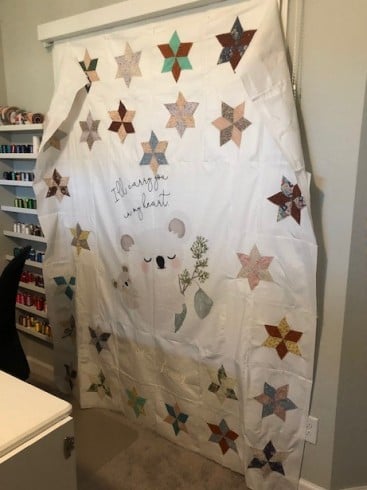
Once your blocks are ready, it’s time to arrange them. This step lets you experiment with different layouts, balancing colors and patterns until everything feels just right. Laying the blocks out on a design wall or large flat surface can help you visualize the final look.
Don’t have a design wall? Check out this blog post or this video where we lay out a few different methods for making one that will work just as well as any store-bought solution.
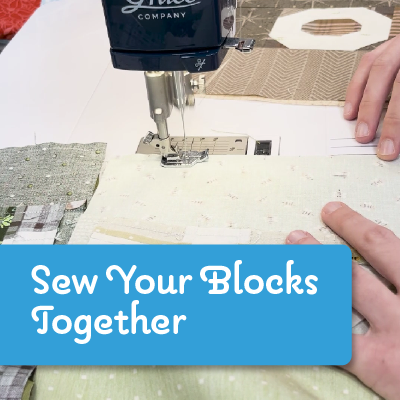
When you’re happy with your layout, sew the blocks together to create rows. Then, join the rows to complete the quilt top. Precision matters here, so take your time aligning seams for a polished result.
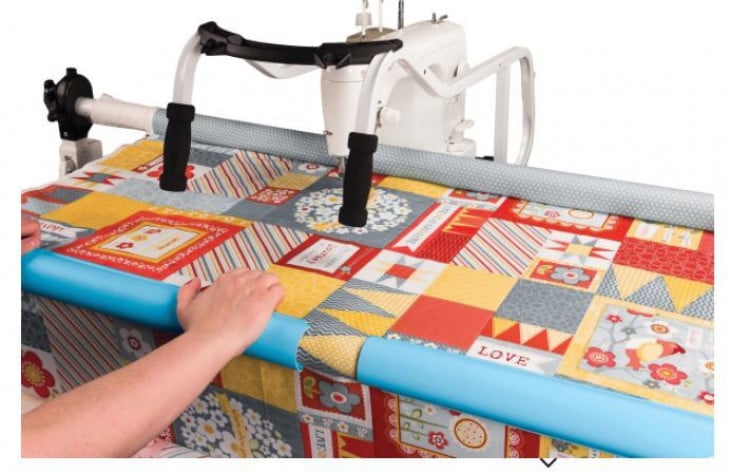
With the quilt top complete, the next phase is quilting—the process that brings your quilt to life by adding texture and durability.
The “quilt sandwich” consists of three layers: the quilt top, batting (if you need help choosing the right kind of batting for your quilt, you can reference our ultimate guide), and the backing fabric. Smooth out each layer and center the quilt top on the batting and backing. Next, you’ll want to secure all three layers using pins, clips, basting spray, or long stitches. The method you use depends on personal preference as well as the quilting method you’re planning to use.
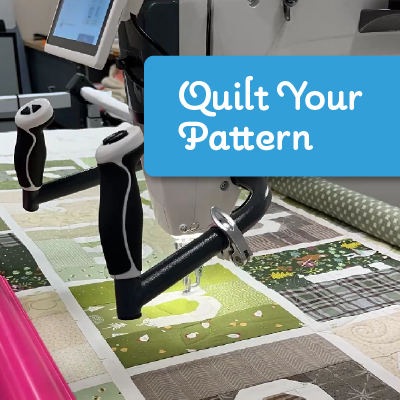
Now comes the fun part: stitching through all three layers to create your quilt design. There are several techniques to choose from:

The final step is binding the edges of your quilt to give it a clean, finished look. Cut strips of fabric for your binding, fold them, and sew them along the edges of your quilt. This step not only adds a decorative frame but also protects the edges from wear and tear. Follow these step-by-step instructions for how to bind your quilt using a machine, or check out this video to get some other binding ideas.
Quilting is such a fun, satisfying hobby and an incredible art form—but there’s a lot to learn. That’s why we’re here to support you every step of the way. If you’re looking for in-person guidance, check out our quilting classes! Whether you’re new to quilting or looking to sharpen your skills, our classes are designed to give you the confidence and knowledge you need to bring your quilting projects to life.
We can’t wait to see all the beautiful quilts you make.
For over 25 years the Grace Company has been the leading manufacturer of high quality quilting frames and quilting accessories. What truly sets The Grace Company apart from other competitors is its level of quality, value, and experience toward all their endeavours. From products to external and internal customer experience, the Grace Company responds to market and customer needs and continues to lead the quilting industry. Grace Company frames and hoops are designed to be easy to build and compatible with most major quilting machines. They'll have the quilting product you need.